> ## Documentation Index
> Fetch the complete documentation index at: https://docs.jelou.ai/llms.txt
> Use this file to discover all available pages before exploring further.
# WooCommerce
> Connect your WooCommerce store with Jelou.
## Access credentials
To connect your WooCommerce store you need the following credentials:
| Credential | Example |
| ------------------ | --------------------------------------------- |
| WooCommerce domain | `https://my-store.com` |
| Consumer key | `ck_xxxx9042e49d750f683089d3673c4037145fxxxx` |
| Consumer secret | `cs_xxxxb0e7e5aff9900be8a0551e56d65101abxxxx` |
### How to generate the credentials
Sign in to your WordPress site's admin panel.
From the side menu, navigate to **WooCommerce > Settings**.
Click the **Advanced** tab and then **REST API**.
Click **Add key**.
* **Description:** a name to identify the key (e.g. "Jelou App").
* **User:** select an administrator user.
* **Permissions:** choose **Read/Write**.
Click **Generate API key**.
Store the `Consumer key` and `Consumer secret` in a safe place.
You won't be able to see the secret key again after leaving this screen.
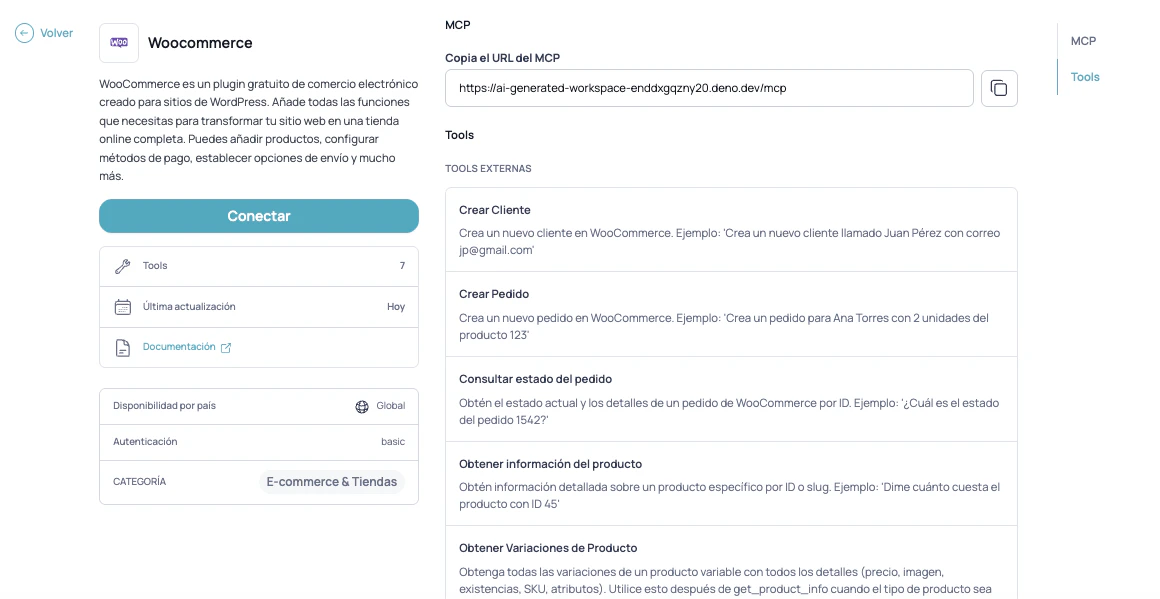
When you connect WooCommerce, the **Jelou Shop** MCP is included automatically.
## Integration
You can integrate your WooCommerce store with Jelou in two ways: **using the Jelou Agent** (in Brain Studio) or **via the Marketplace**. In both cases you will need your store domain and the `Consumer key` and `Consumer secret` generated in the previous step.
### Using the Jelou Agent
Configure the connection directly in the Jelou Agent in Brain Studio.
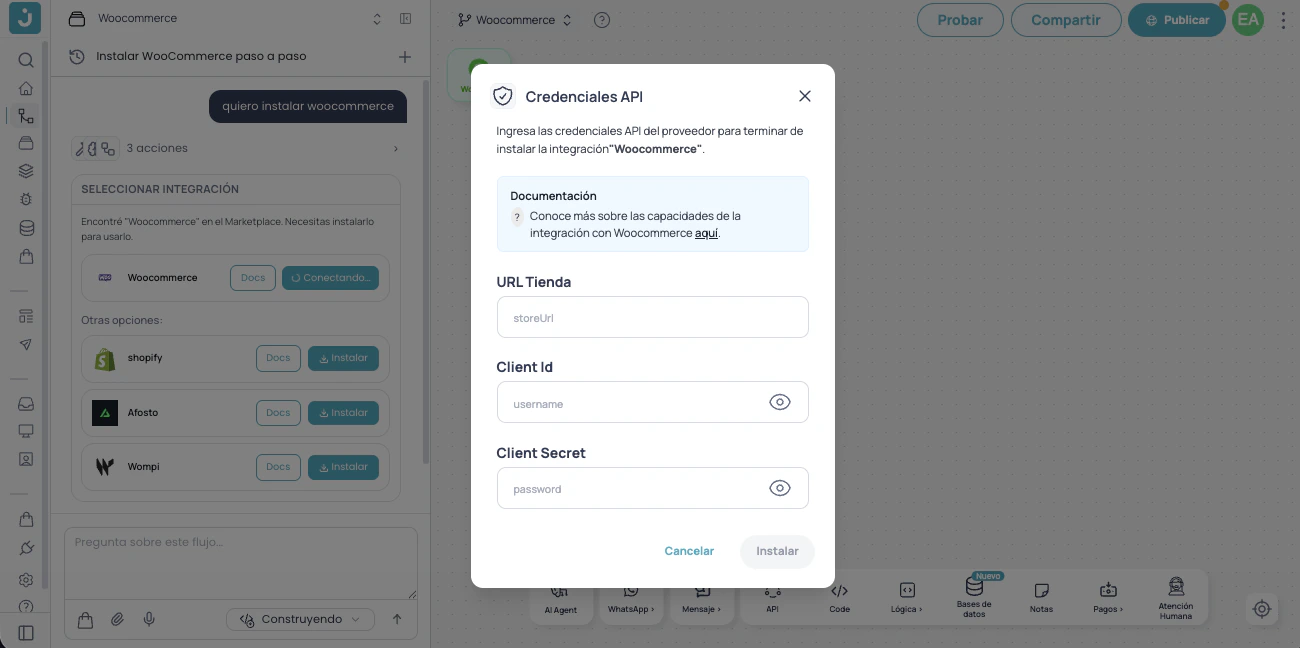 ### Via the Marketplace
Activate the integration from the Jelou Marketplace.
### Via the Marketplace
Activate the integration from the Jelou Marketplace.
 ## Native checkout in your store
If you prefer the payment to be completed in your own WooCommerce store instead of the Jelou payment flow, enable `use_external_checkout: true` when running the `get_and_clear_cart` tool. Jelou creates the order via the WooCommerce API and returns the link to your store's checkout in `checkout_url` so the user can complete the payment.
## Native checkout in your store
If you prefer the payment to be completed in your own WooCommerce store instead of the Jelou payment flow, enable `use_external_checkout: true` when running the `get_and_clear_cart` tool. Jelou creates the order via the WooCommerce API and returns the link to your store's checkout in `checkout_url` so the user can complete the payment.
 ```json theme={null}
{
"success": true,
"data": {
"items": [
{ "product_name": "Light blue t-shirt", "sku": "vj6ybab6e1", "quantity": 2, "price": "25.00", "discount_value": 50, "tax_rate": 0 }
],
"total": 50,
"subTotal": 50,
"tax": 0,
"tax_value": 0,
"cart_id": 12345,
"checkout_url": "https://my-store.com/checkout/order-pay/42?key=wc_abc"
}
}
```
## Next step
Once your store is connected, choose how you want your customers to interact with the products:
Send catalogs and carts as interactive webviews inside WhatsApp
The AI agent describes products and manages the cart directly in the conversation
```json theme={null}
{
"success": true,
"data": {
"items": [
{ "product_name": "Light blue t-shirt", "sku": "vj6ybab6e1", "quantity": 2, "price": "25.00", "discount_value": 50, "tax_rate": 0 }
],
"total": 50,
"subTotal": 50,
"tax": 0,
"tax_value": 0,
"cart_id": 12345,
"checkout_url": "https://my-store.com/checkout/order-pay/42?key=wc_abc"
}
}
```
## Next step
Once your store is connected, choose how you want your customers to interact with the products:
Send catalogs and carts as interactive webviews inside WhatsApp
The AI agent describes products and manages the cart directly in the conversation