
Connect your store
Connecting WooCommerce is a simple OAuth process: all you need is your store domain. Jelou creates the credentials for you when you authorize the connection from WooCommerce.Where to start the connection
You can start the integration from two places. In both cases the authorization flow is the same.Using the Jelou Agent
Configure the connection directly in the Jelou Agent in Brain Studio.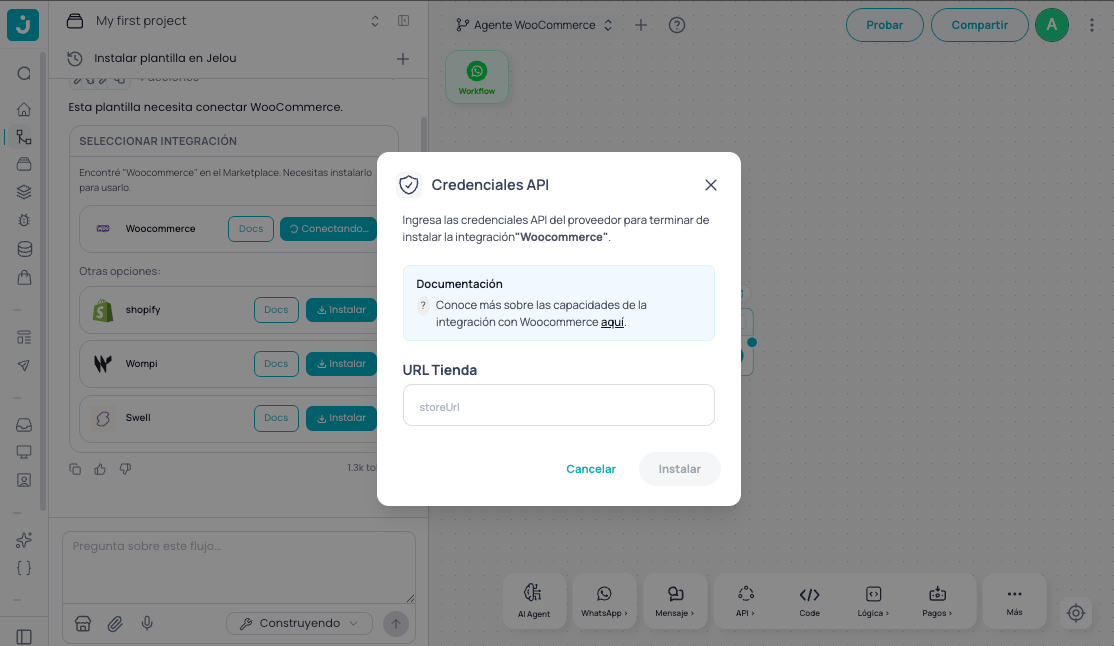
Via the Marketplace
Activate the integration from the Jelou Marketplace.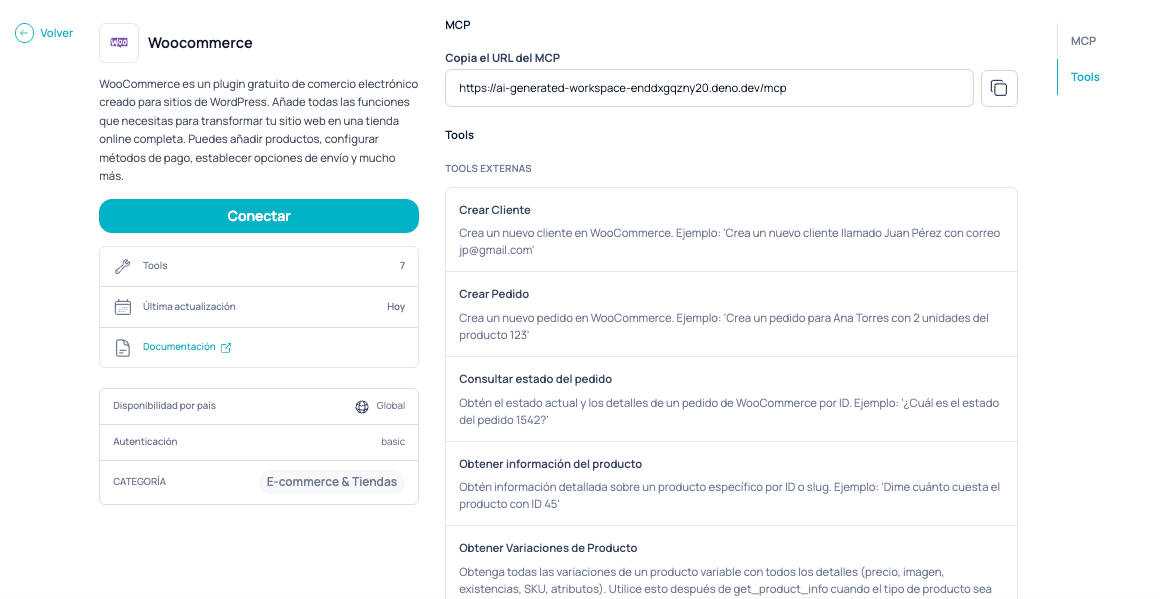
Authorize the connection
1
Enter your store domain
In the Store URL field, type your store domain (e.g. 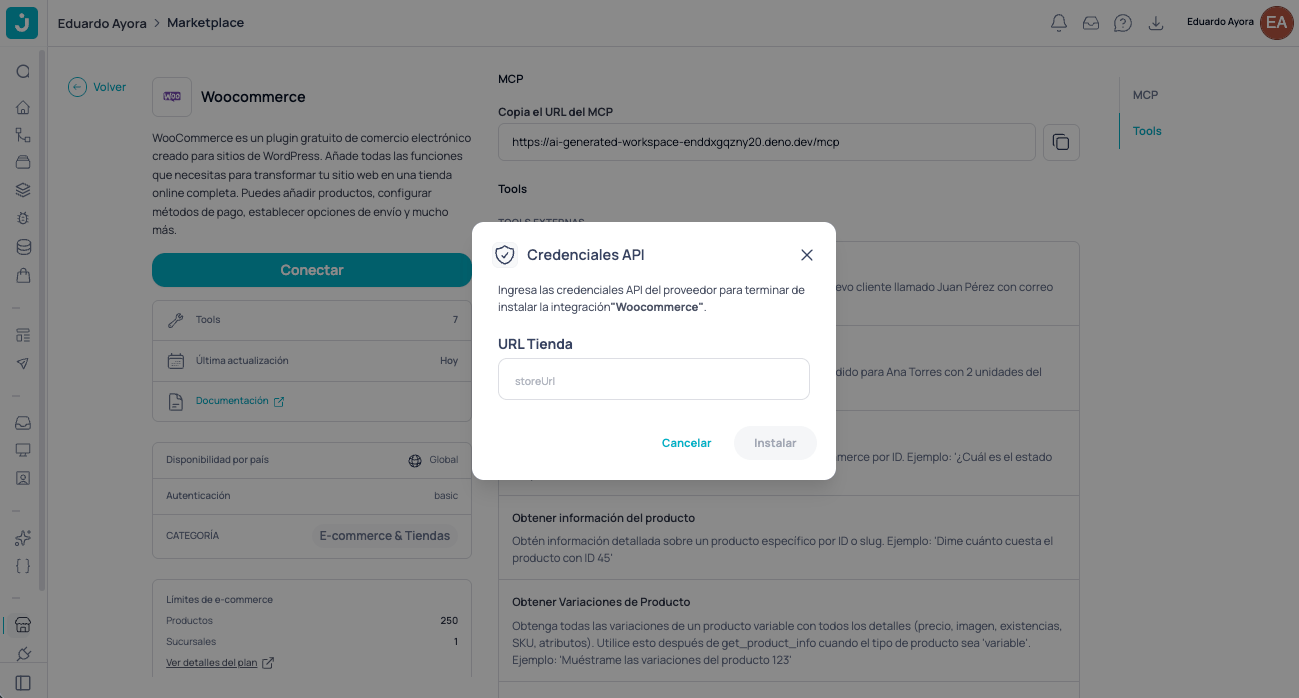
https://my-store.com) and click Install.2
Sign in to WooCommerce
You’ll be redirected to your store. Sign in with your WordPress username and password to authorize Jelou.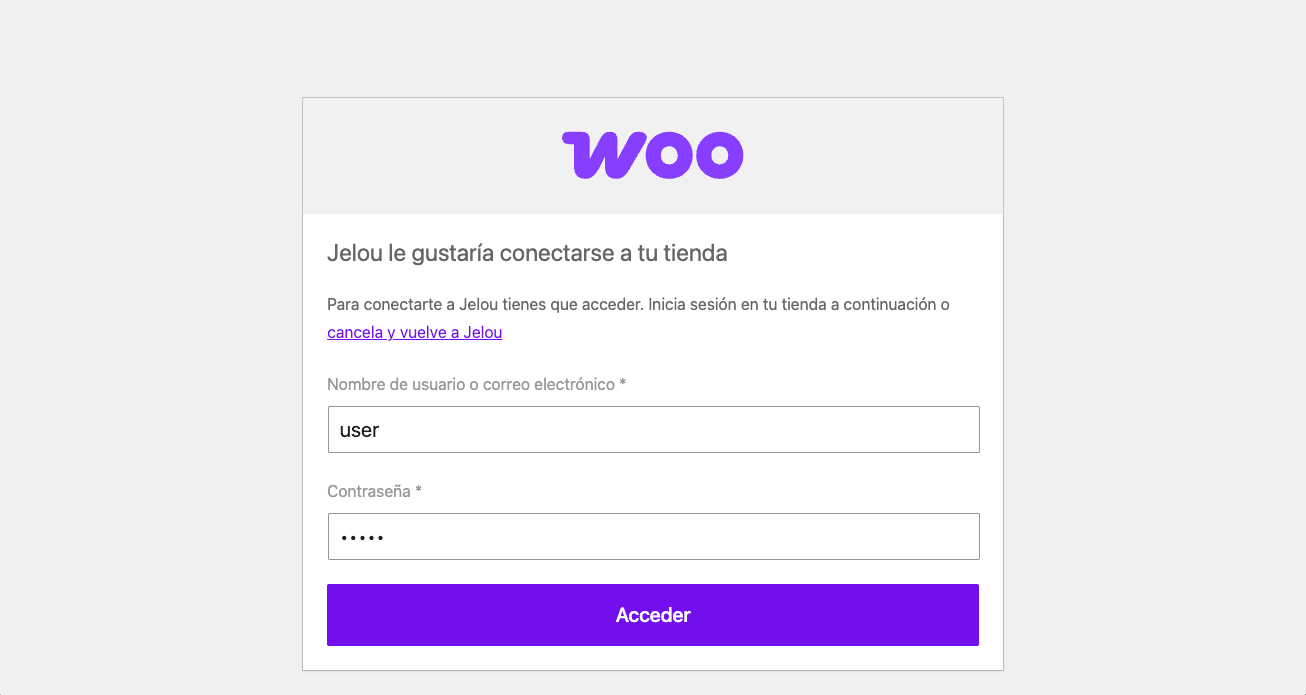
3
Approve access
WooCommerce will show the Read/Write permissions Jelou needs (create webhooks; view and manage coupons, customers, orders and sales reports, and products). Click Approve.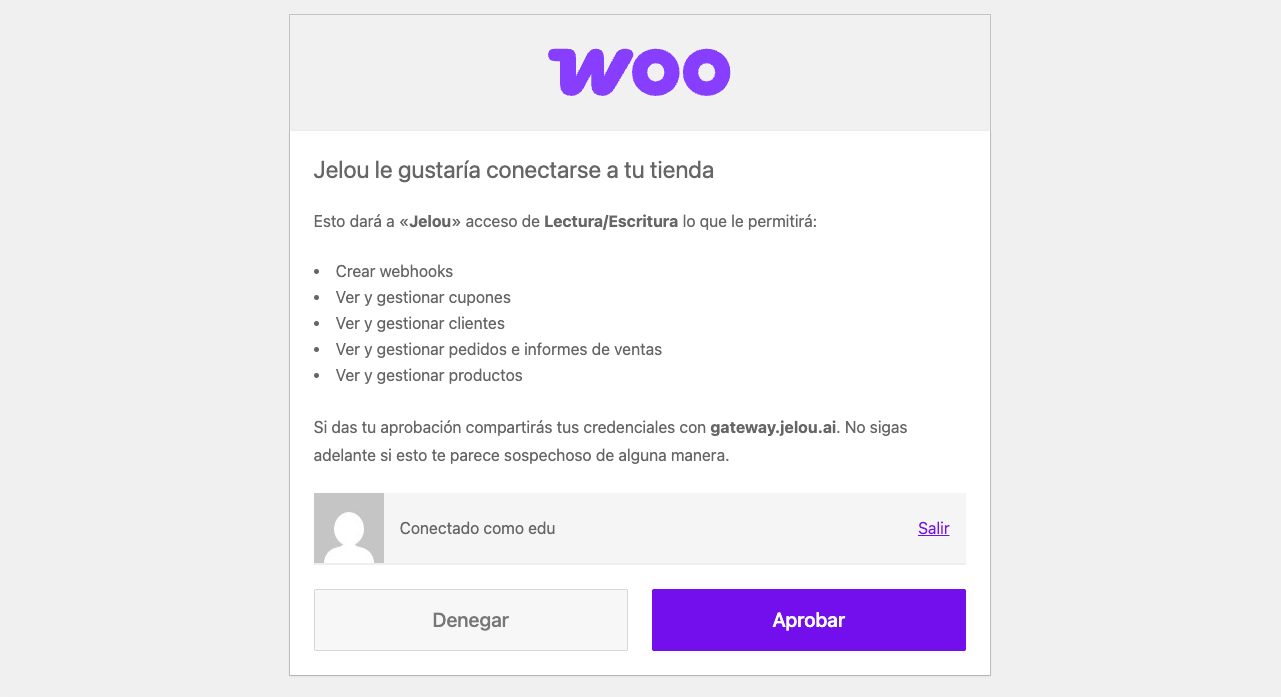
4
Successful connection
You’ll return to Jelou with confirmation that your store was connected successfully. You can now start syncing products and orders.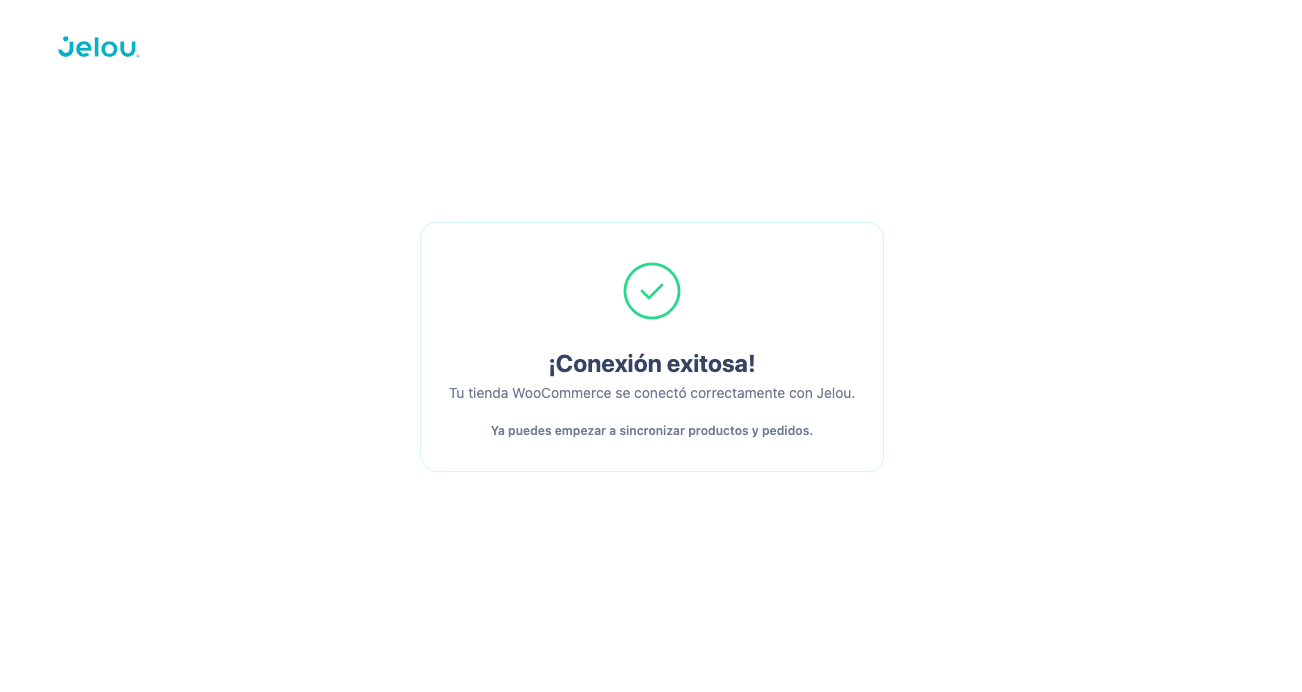
Native checkout in your store
If you prefer the payment to be completed in your own WooCommerce store instead of the Jelou payment flow, enableuse_external_checkout: true when running the get_and_clear_cart tool. Jelou creates the order via the WooCommerce API and returns the link to your store’s checkout in checkout_url so the user can complete the payment.
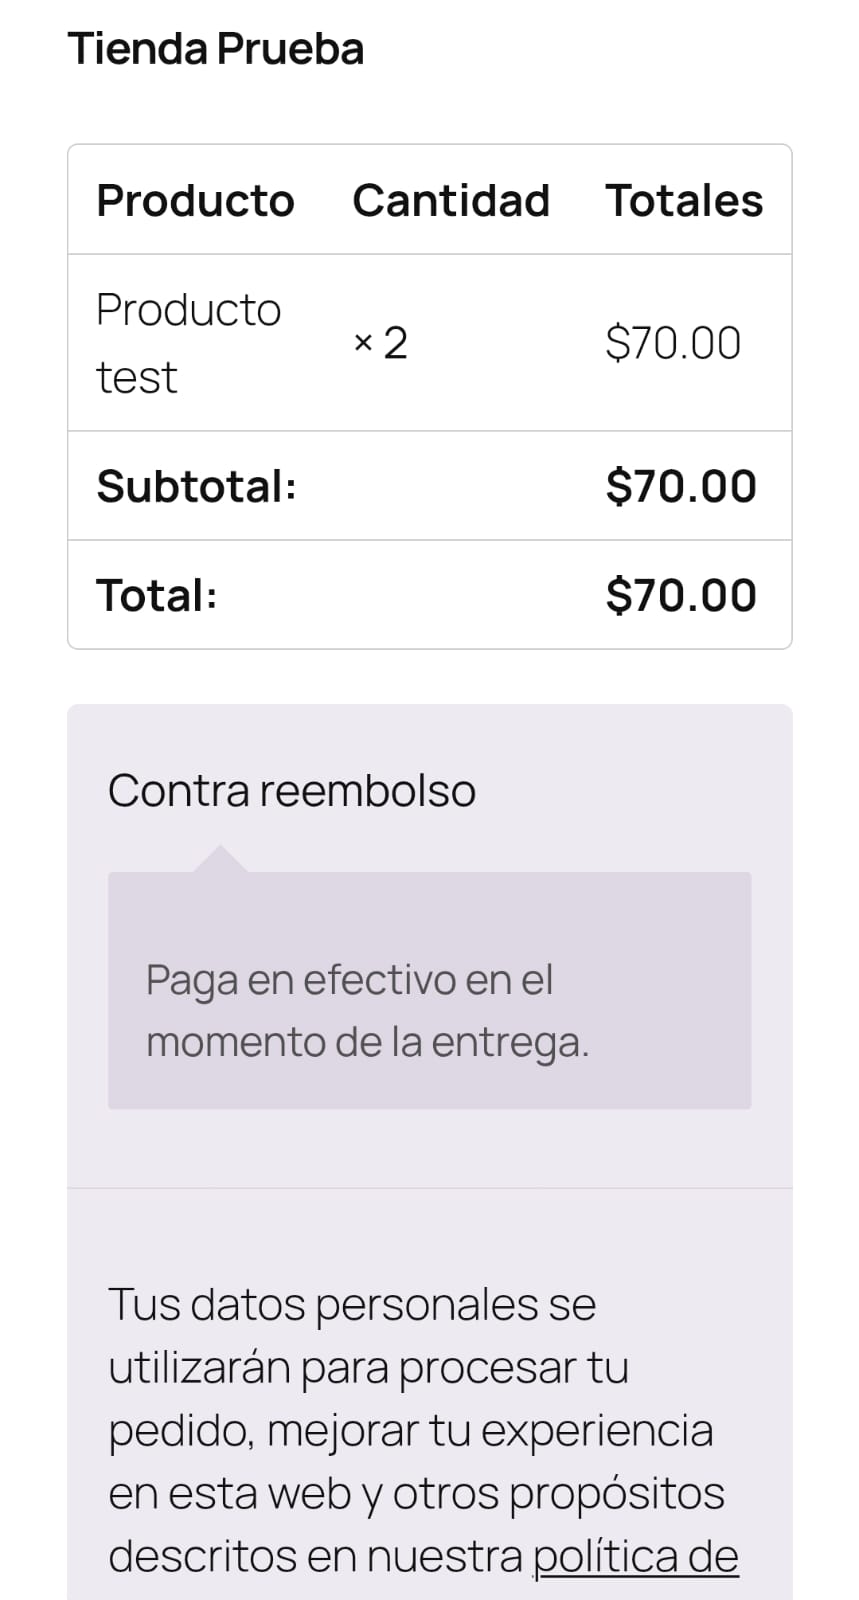
View example response
View example response
Next step
Once your store is connected, choose how you want your customers to interact with the products:WebView interaction
Send catalogs and carts as interactive webviews inside WhatsApp
Conversational interaction
The AI agent describes products and manages the cart directly in the conversation