
The common steps
Every format is created with the same wizard. The button to move forward stays locked while required fields in the current step are missing, and on the right you always have a preview that updates as you type.1
General settings
Name, language, channel, and visibility. Create with AI is also available here — it fills in the fields from a description of what you want to send.
2
Message type
Category and subformat.
3
Message content
Varies by format. This is what the guides below cover.
4
Buttons
Vary by format. When you finish this step, the content is checked against WhatsApp’s policies: any violations are shown on screen and you can go back to the content step to fix them.
5
Confirmation
Final review and submission to WhatsApp. The template stays under review until it’s approved or rejected; you can see the status in the template list.
Guides by format
Custom message
Custom message
Available in Marketing and Utility. It’s the most flexible format and the recommended starting point.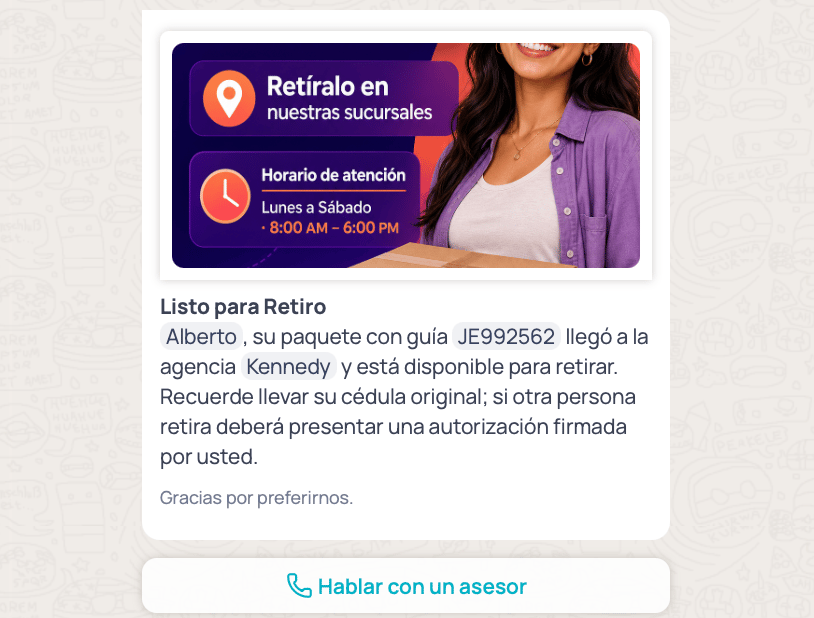
- Marketing: promo announcements, product launches, discount coupons, event invitations, win-back campaigns for inactive customers.
- Utility: purchase confirmations, shipping notices, appointment reminders, invoice due dates, ticket status changes.
- In step 2, pick the category (Marketing or Utility) and then Custom message.
- In step 3, pick the message type: Text, Image, Video, or Document.
- With Text you can add a text header (optional, up to 60 characters, supports 1 parameter).
- With Image, Video, or Document you have to upload the file. That asset is what the customer sees as the header.
- Write the message body (required). Use Add parameter to insert values that change per contact (name, order number, amount). For each parameter, fill in its label and an example.
- Optionally write a footer (up to 60 characters). Useful for short notices like “Reply STOP to opt out”.
- In step 4, add the buttons you need.
- Check the preview and confirm.
Carousel
Carousel
Marketing category. A text message followed by a set of swipeable cards, each with its own image or video and its own buttons.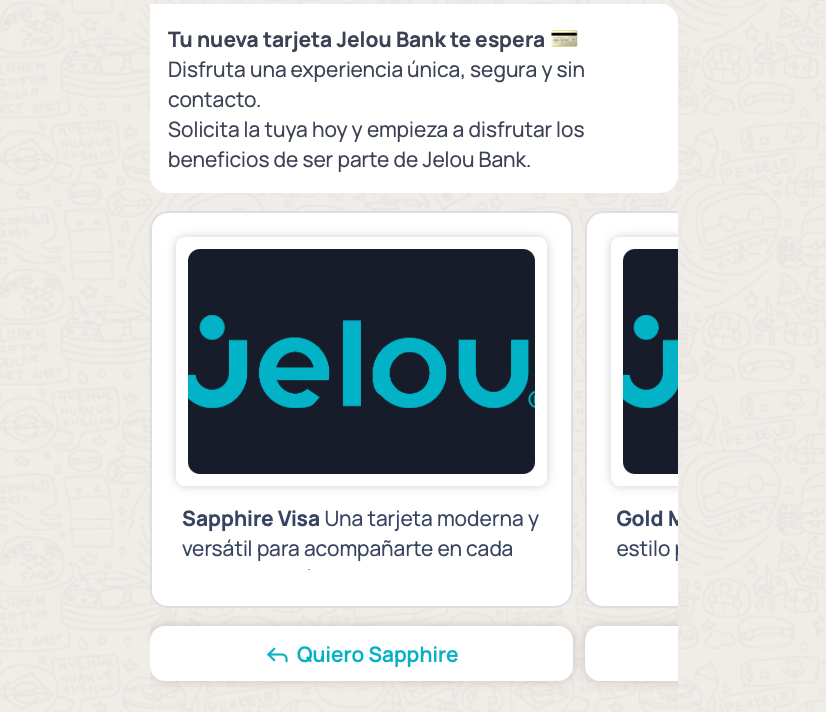
- Showing several promotions at once (by category, by store, by size).
- Featuring the week’s best sellers.
- Showing several plans or bundles so the customer can compare and choose.
- A visual catalog when you don’t have a catalog connected to Meta.
- In step 2, pick Marketing and then Carousel.
- In step 3, write the message body: the text that appears above the cards (required, up to 900 characters, supports up to 9 parameters). It’s the hook of the message.
- Pick the card header type: Image or Video. Every card shares the same type; you can’t mix them.
- Press Add card for each card you need. You can create 1 to 10; the button is disabled once you reach 10.
- In each card, write its content (required, up to 120 characters). Line breaks aren’t allowed inside a card; if you need to separate ideas, use another card.
- If a card needs variable values, give it its own parameters with a label and example. Each card handles its own, independent from the body.
- Use the X in the corner of a card to delete it.
- In step 4, set up the buttons: the buttons you add apply to every card in the carousel, and each card must have at least one and at most two. Only the destination changes per card (for example, each product’s URL); the type and the name are shared.
- Check the preview by swiping through the cards and confirm.
Each card’s image or video shows a placeholder asset while you create the template. The real file for each card is defined when you create the campaign.
Jelou Shop message
Jelou Shop message
Marketing category. Takes the customer straight to your Jelou Shop web store with one button, with no need for a catalog synced to Meta.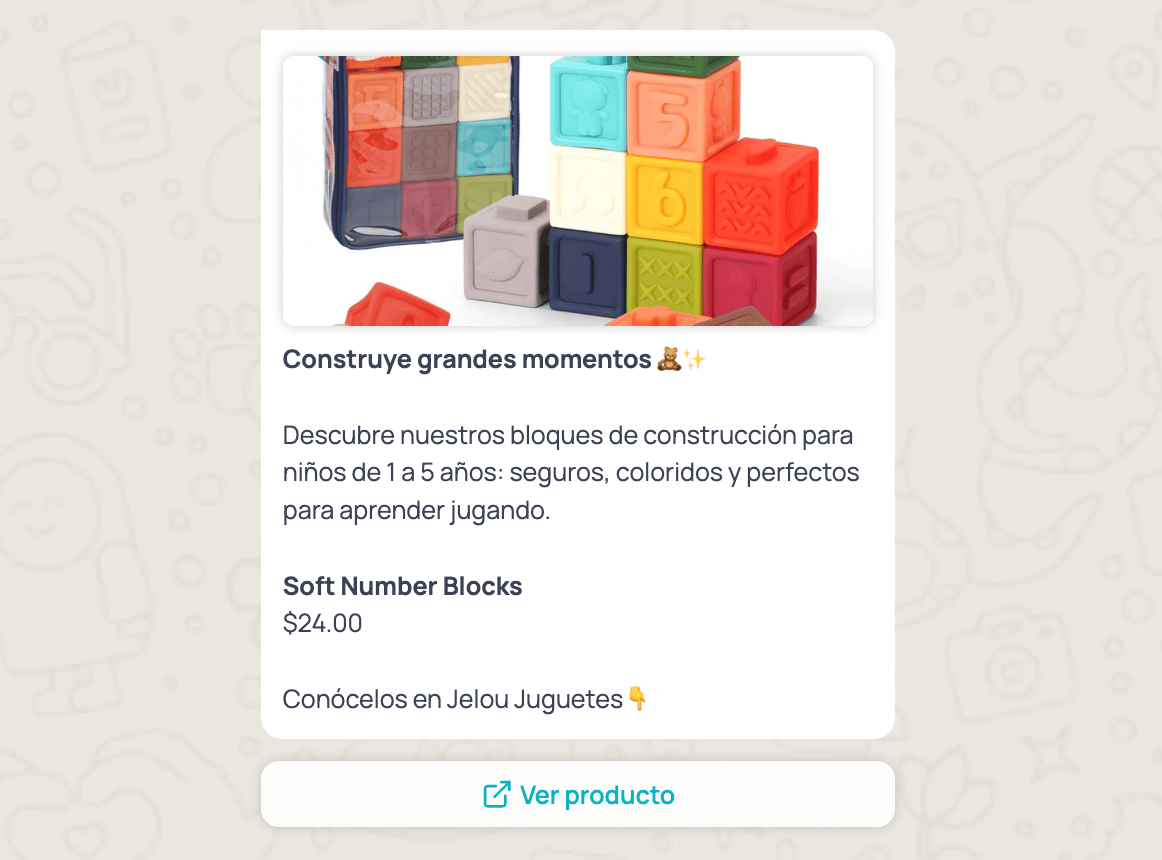
- Jelou Shop set up for your company, with products loaded. If the company doesn’t have it, the option is disabled with the notice “This company doesn’t have Jelou Shop set up, so this format can’t be used.”
- At least one WhatsApp channel connected.
- If your store uses branches, have them created: sending uses them to filter the catalog.
- Promoting one specific product with its name and current price, without creating a template per product.
- Driving traffic to a whole category: “New summer collection”, “Everything in home appliances”.
- Inviting customers to browse the whole store in seasonal or win-back campaigns.
Step by step
- In step 2, pick Marketing and then Jelou Shop message. The wizard starts on the Single product format with the View product button already set up.
- In step 3, pick the Format (required) from the three options. Changing the format clears the body, the header, and the button, so decide before you write.
- With Product category or Full catalog, pick the content type (Text, Image, Video, or Document). If you pick a media type, upload the file with the usual limits: 5 MB for images, 15 MB for video, and 15 MB for PDFs. The body is a single field, with no product block and no closing text.
-
With Single product, the body is built from three parts:
The Product block is shown for reference with sample data (for example, Cotton t-shirt · $19.90) and the note “Sample data. You’ll select the product when you send the campaign.” In the real message, Jelou replaces the name and price with those of the product you pick in the campaign.
- Write the footer if you need one: it’s optional, same as in every other template.
- In step 4 you don’t set up a button: a URL button comes ready and you can only change its label (up to 24 characters, no quotation marks). The default texts are View product, View category, and View catalog. Jelou builds the URL — a dynamic link to your web store — and it isn’t editable.
- Confirm. The header image sent to Meta in the request is only a sample for the reviewer; the real product image is attached on each send.
Limited-time offer
Limited-time offer
Marketing category. Shows an offer title with a countdown timer and, optionally, a promo code the customer copies with one tap.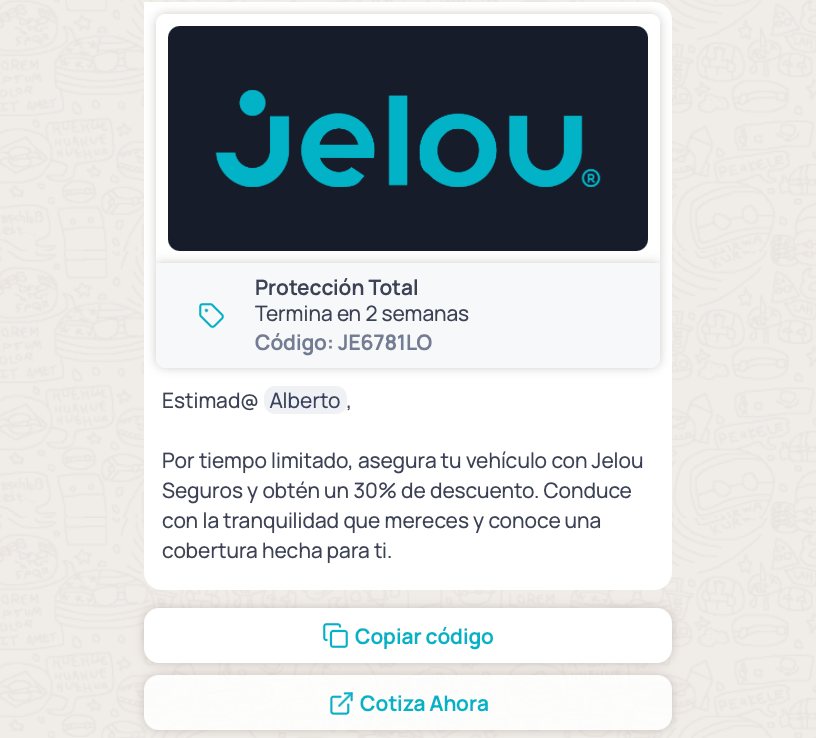
- Flash sales and offers lasting a few hours.
- Coupons with an expiration date.
- Urgency campaigns: “final hours”, “today only”.
- In step 2, pick Marketing and then Limited-time offer.
- In step 3, pick the message type: Image or Video. This format doesn’t accept text-only or documents.
- Write the offer title (required, maximum 16 characters). It’s the text next to the timer — for example
50% OFF today. - Check Add an expiration period to this offer if you want to show the countdown. The preview shows a sample date: the real date is set when you create the campaign.
- Write the message body (required, up to 600 characters in this format).
- In step 4, set up the buttons:
- URL button: required. Takes the customer to the store or the offer page. Can be fixed or have a variable portion per contact — in that case you have to provide a full example URL.
- Copy code: optional. Adds a promo code the customer copies with one tap; you have to enter a sample code.
- Confirm.
WhatsApp Flow
WhatsApp Flow
Available in Marketing and Utility. Adds a button that opens a WhatsApp flow — a form or guided process inside the chat. Only available on WhatsApp Cloud channels.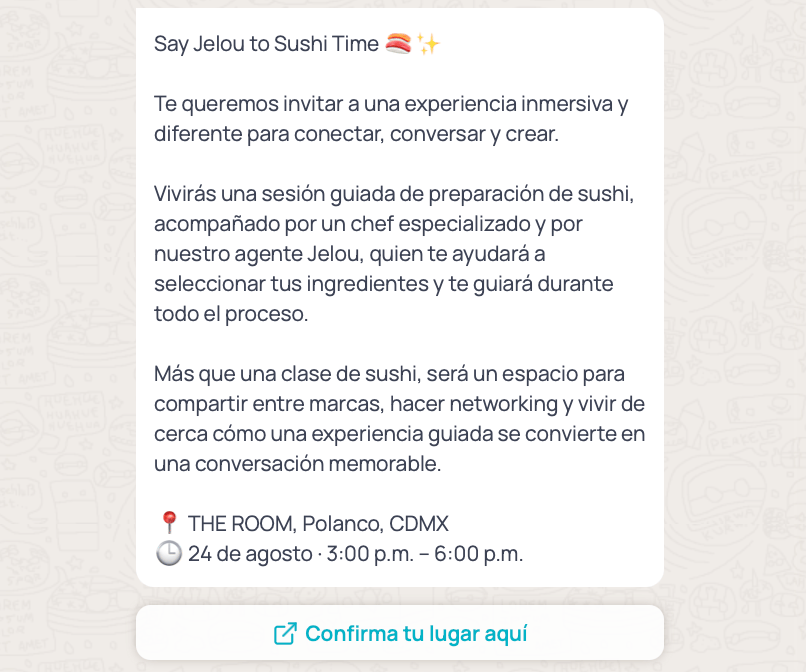
- Marketing: event registration, interest surveys, quote requests.
- Utility: appointment scheduling, data updates, post-sale satisfaction surveys.
- In step 2, pick Marketing or Utility and then WhatsApp Flow.
- In step 3, pick the message type: Text, Image, Video, or Document. With Text you can add a header; with the others you have to upload the file.
- Write the message body (required) and, if you want, the footer.
- In step 4, set up the flow button:
- Write the button name (between 2 and 24 characters).
- Pick the flow from the channel’s list of flows.
- Pick the screen the flow will open on. The list loads after you pick the flow.
- Confirm.
Authentication
Authentication
Authentication category. Sends a one-time code. It’s the only format whose content you don’t write: it’s generated automatically.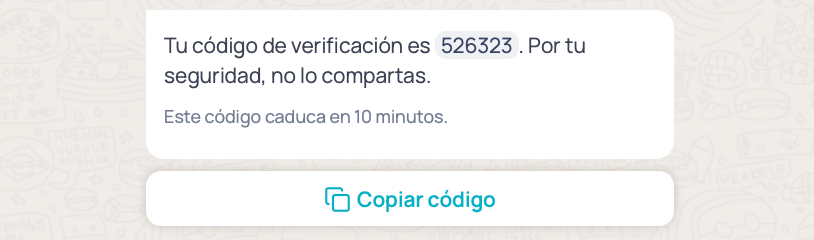
- Login verification.
- Confirming a transaction or a change to sensitive data.
- Password recovery.
- In step 2, pick Authentication. There are no subformats to select.
- In step 3 you’ll see the notice that the content isn’t editable. The body is built from the language you picked in step 1:
- Spanish:
Tu código de verificación es {{1}}. - English:
{{1}} is your verification code. - Portuguese:
Seu código de verificação é {{1}}.
- Spanish:
- Check any additional options you want:
- Add security recommendation: appends “For your security, do not share it.”
- Add an expiration time for the code: appends “This code expires in N minutes” to the footer. The value must be between 1 and 90; outside that range you’ll see “Enter a value between 1 and 90”.
- In step 4 you’ll see the Copy code button, created automatically. You can change its text.
- Confirm.
Changing the format
On a template already submitted to WhatsApp that is pending approval, the category can’t be changed. You’ll see the notice “The category of an approved template cannot be modified.” Meta automatically handles changing a template’s category when it considers it incorrect, so it can approve it.Notes
- Parameters can’t sit at the very start or end of the text, and consecutive line breaks aren’t allowed.
- Button names can’t repeat within the same template.
- Only approved templates can be used in campaigns.
- In the template list, Jelou Shop templates appear with the type Shop - Product, Shop - Category, or Shop - Catalog.
Media recommendations
Dimensions, file sizes, and design best practices for images, videos, and documents.
Template categorization
How WhatsApp validates the category and what to do if yours gets recategorized.
Your first campaign
Use an approved template to send your first bulk message.