
Integration summary
- What it is
- Experience
- Requirements
- Configured from Payments → Integrations with the Add gateway button
- Available in Brain Studio’s Payment node once it’s active
- No backend code required for each new provider
You configure the gateway in Payments. Then you select it in the Payment node in Brain Studio to charge inside the flow.
Compatibility assistant
Before you set up the wizard, use this prompt with your LLM (ChatGPT, Claude, Cursor, or another). Copy it from the docs, paste it as instructions, and add your PSP’s technical documentation (URL, PDF, or text). The model tells you if it’s compatible and what to fill in each setup step.1
Copy the prompt
View and copy the prompt
Open it in the docs and copy it with the code block button.
2
Paste it into your LLM
Use it as the assistant’s instructions (system prompt or first message).
3
Attach the PSP documentation
Share the URL, PDF, or text of your provider’s API docs. Without that, the assistant can’t evaluate compatibility.
4
Ask for the verdict
Request the verdict and field-by-field wizard mapping. Use it as the base when you create the gateway.
If your PSP fails the checklist (for example OAuth with refresh, SOAP/XML, or a mandatory multi-step flow), email [email protected] to explore a dedicated integration or other options.
When to use it
- Your PSP isn’t in the native integrations and you can’t (or don’t want to) wait for a dedicated integration.
- You want to charge in conversation with embedded WebView using that provider’s checkout.
- Your technical team can describe the PSP’s API (charge creation + keys) and you configure it in the wizard.
How it works
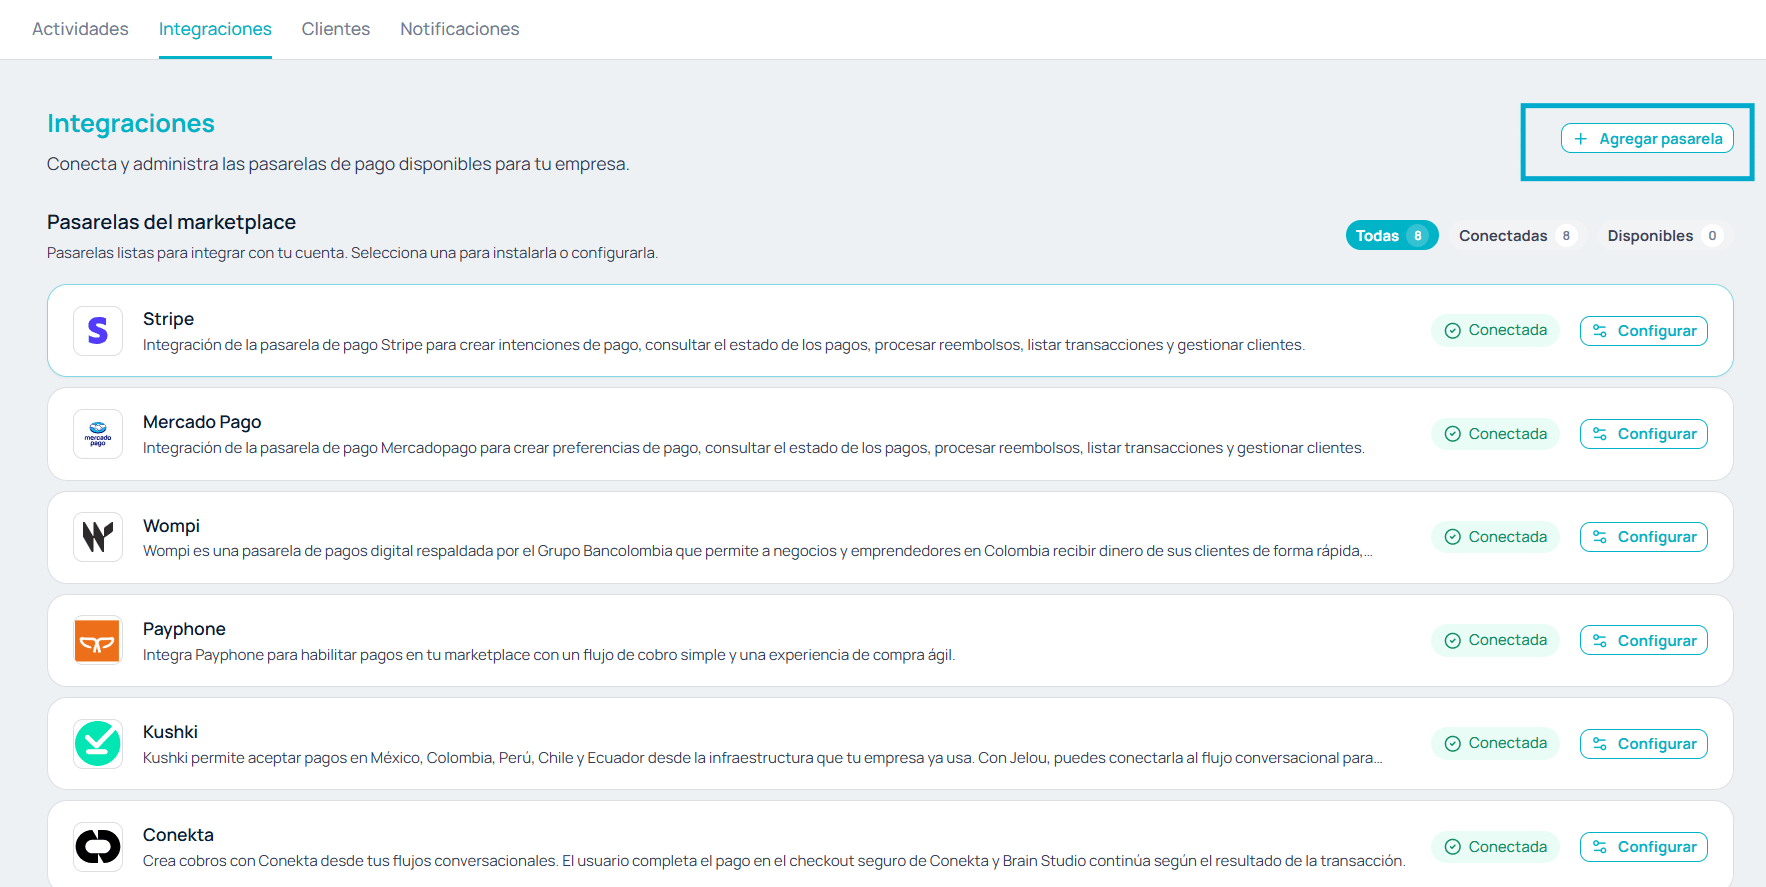
From Payments → Integrations, the "Add gateway" button opens the setup wizard.
1
Describe the integration
From Payments, an admin completes the wizard: credentials, request, webhook, and return.
2
Jelou stores the configuration
The gateway is tied to your company and ready to test or edit from Integrations.
3
Use it in Brain Studio
When the gateway is active, select it in the Payment node to charge inside the conversation.
Before you start
Get this ready before you open the wizard:- Your PSP’s technical documentation (charge-creation endpoint, authentication, request/response shape, webhook if any).
- The PSP’s API keys or tokens: test / sandbox keys first, then production keys.
- Start by creating the gateway in Sandbox, connect it with test keys, and validate the checkout. Only then move to Production with real keys.
Same BYOK model as the catalog: the keys are yours. Here you also define which keys the wizard declares and where they are used (almost always in request headers, for example
Authorization: Bearer {{apiKey}}).Next steps
1
Create the gateway
Walk through the 6-step wizard to set up your PSP.
Create a custom gateway
Configure credentials, request, webhook, and return.
2
Review variables
Check the placeholders you can inject into the request to the PSP.
Variables and placeholders
Reference for amount, customer, order, return, and more.
3
Test before publishing
Validate the full flow against the PSP’s sandbox.
Test the gateway
Generate a test paylink and review the production checklist.
4
Use it in Brain Studio
Configure the Payment node to charge with your active gateway.
Use in Brain Studio
Node fields, outputs, and use cases.