
Access IP Addresses
Go to Settings > IP Addresses in the side menu.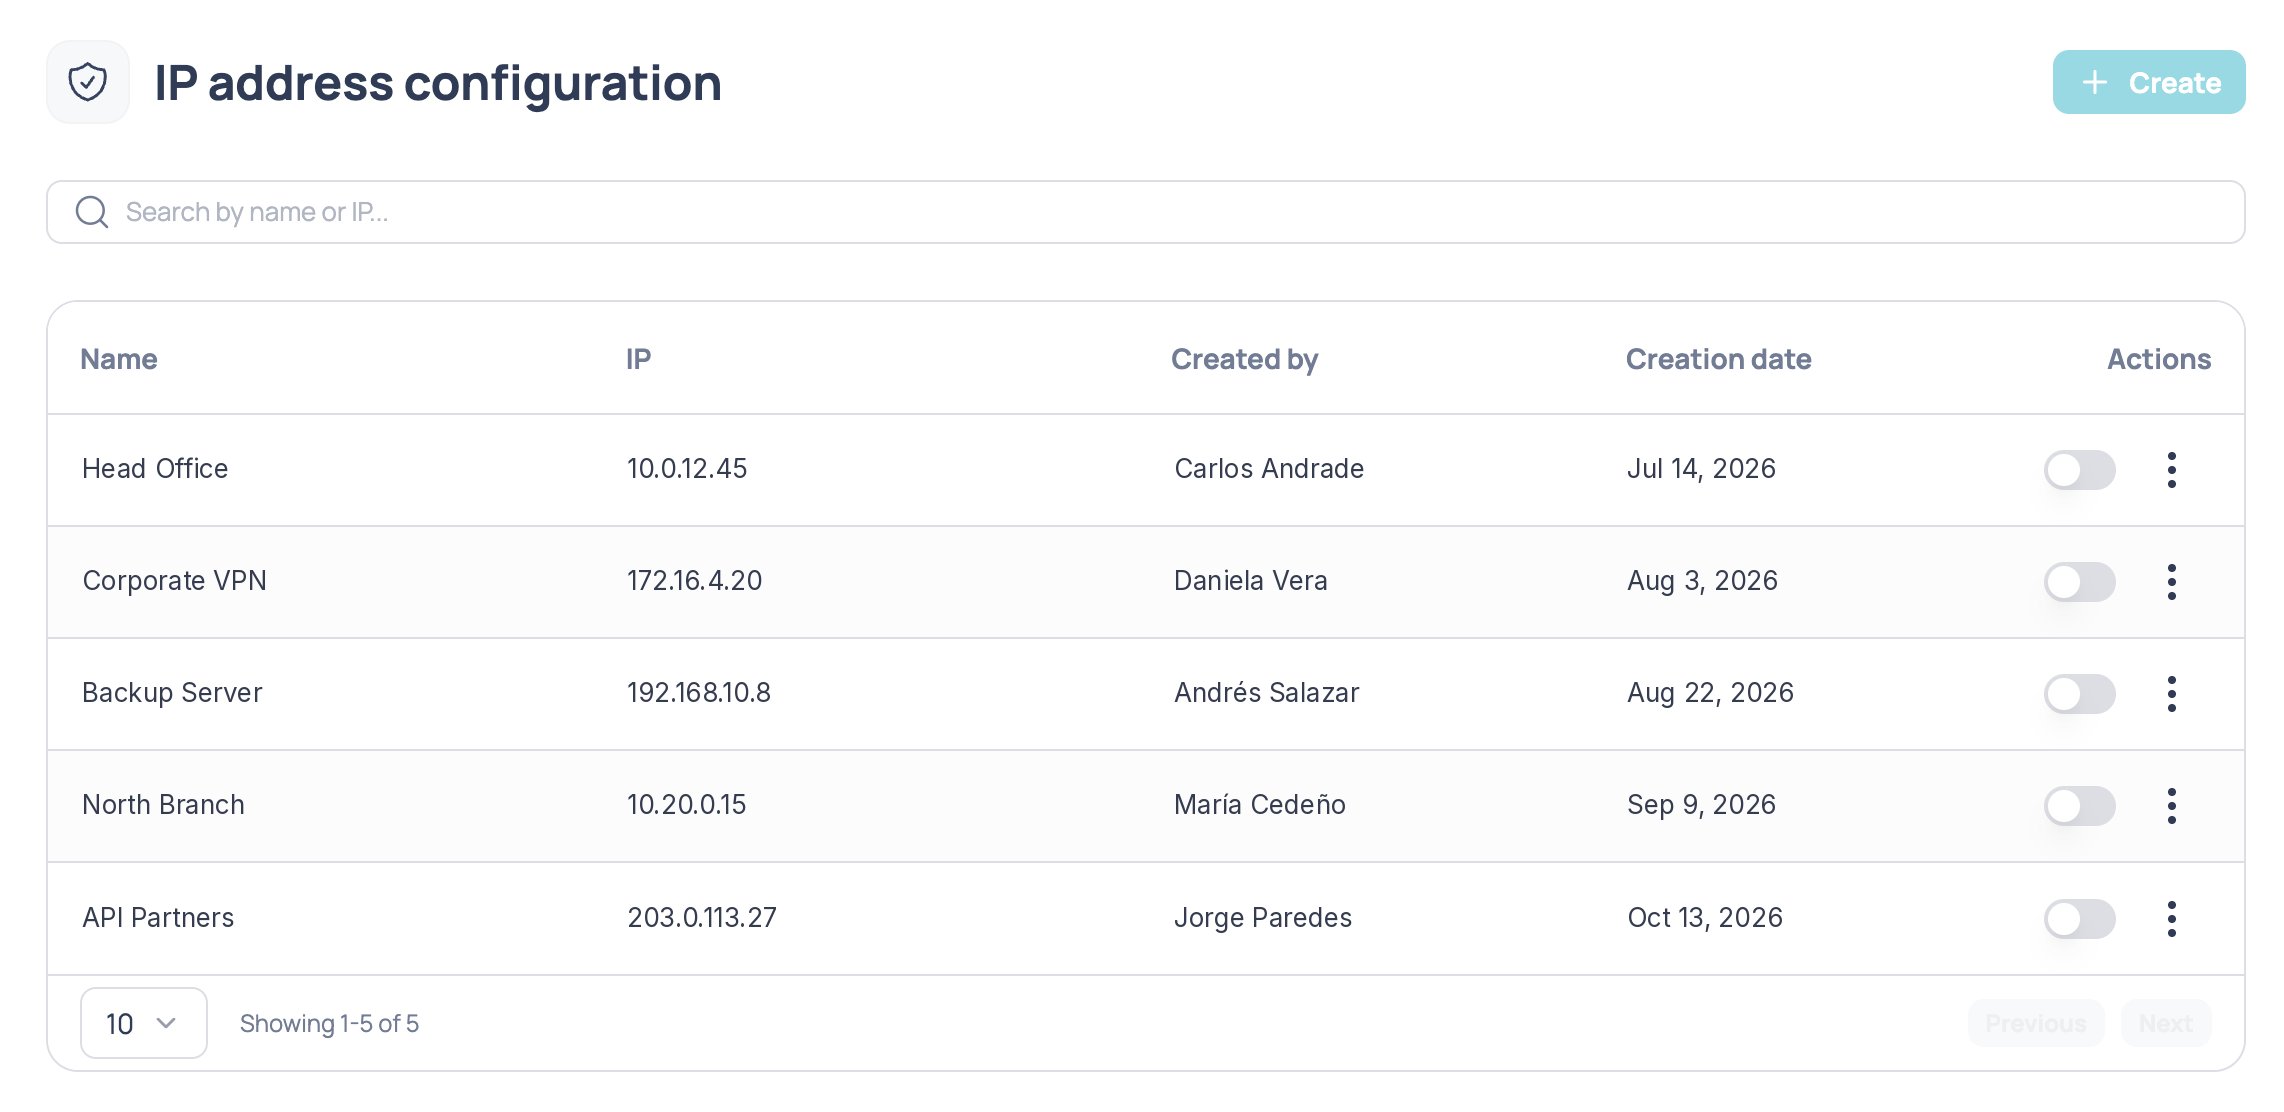
Settings > IP Addresses view
If there are no addresses yet, you’ll see the message “You don’t have any IP addresses yet”.
Limits and validations
Accepted IP formats
- IPv4: four numbers between 0 and 255 separated by dots, with no leading zeros.
192.168.1.1is valid;192.168.01.1is not. - CIDR range: for example,
192.168.1.0/24. - IPv6.
1234, are rejected with an invalid IP error message.
Create IP addresses
1
Open the form
Click Create. The Create IP addresses side panel opens.
2
Fill in name and IP
Enter a name and the IP address. To register more than one in the same operation, click Add address; each extra row has an ✕ button to remove it. You can add rows until you reach the limit of 5 addresses.
3
Confirm
Click Create. The button is only enabled when every row has a valid name and a valid IP.
Search and filter
When at least one address exists, a search bar appears above the table:- Free text: searches by name, IP, or creator.
- Status: filters by Active or Inactive.
- Created by: filters by the users who registered addresses.
- Filters of the same type are added together (for example, created by Ana or by Luis); filters of different types are combined (for example, Active and created by Ana).
- Use the clear button to remove all filters.
Edit an address
Open the row’s actions menu and select Edit address. A panel opens with the current name and IP. The same validations as creation apply, and the address keeps its status. If you close with unsaved changes, the confirmation warning appears.Activate or deactivate an address
Use the switch in the Actions column. The change shows immediately and a notification like “The IP address of was activated” appears. If the change can’t be saved, the switch returns to its previous state.Delete an address
1
Open the actions menu
On the address row, open the actions menu and select Delete address.
2
Confirm
Confirm in the dialog. Deleting it frees up one slot of the 5-address limit.