
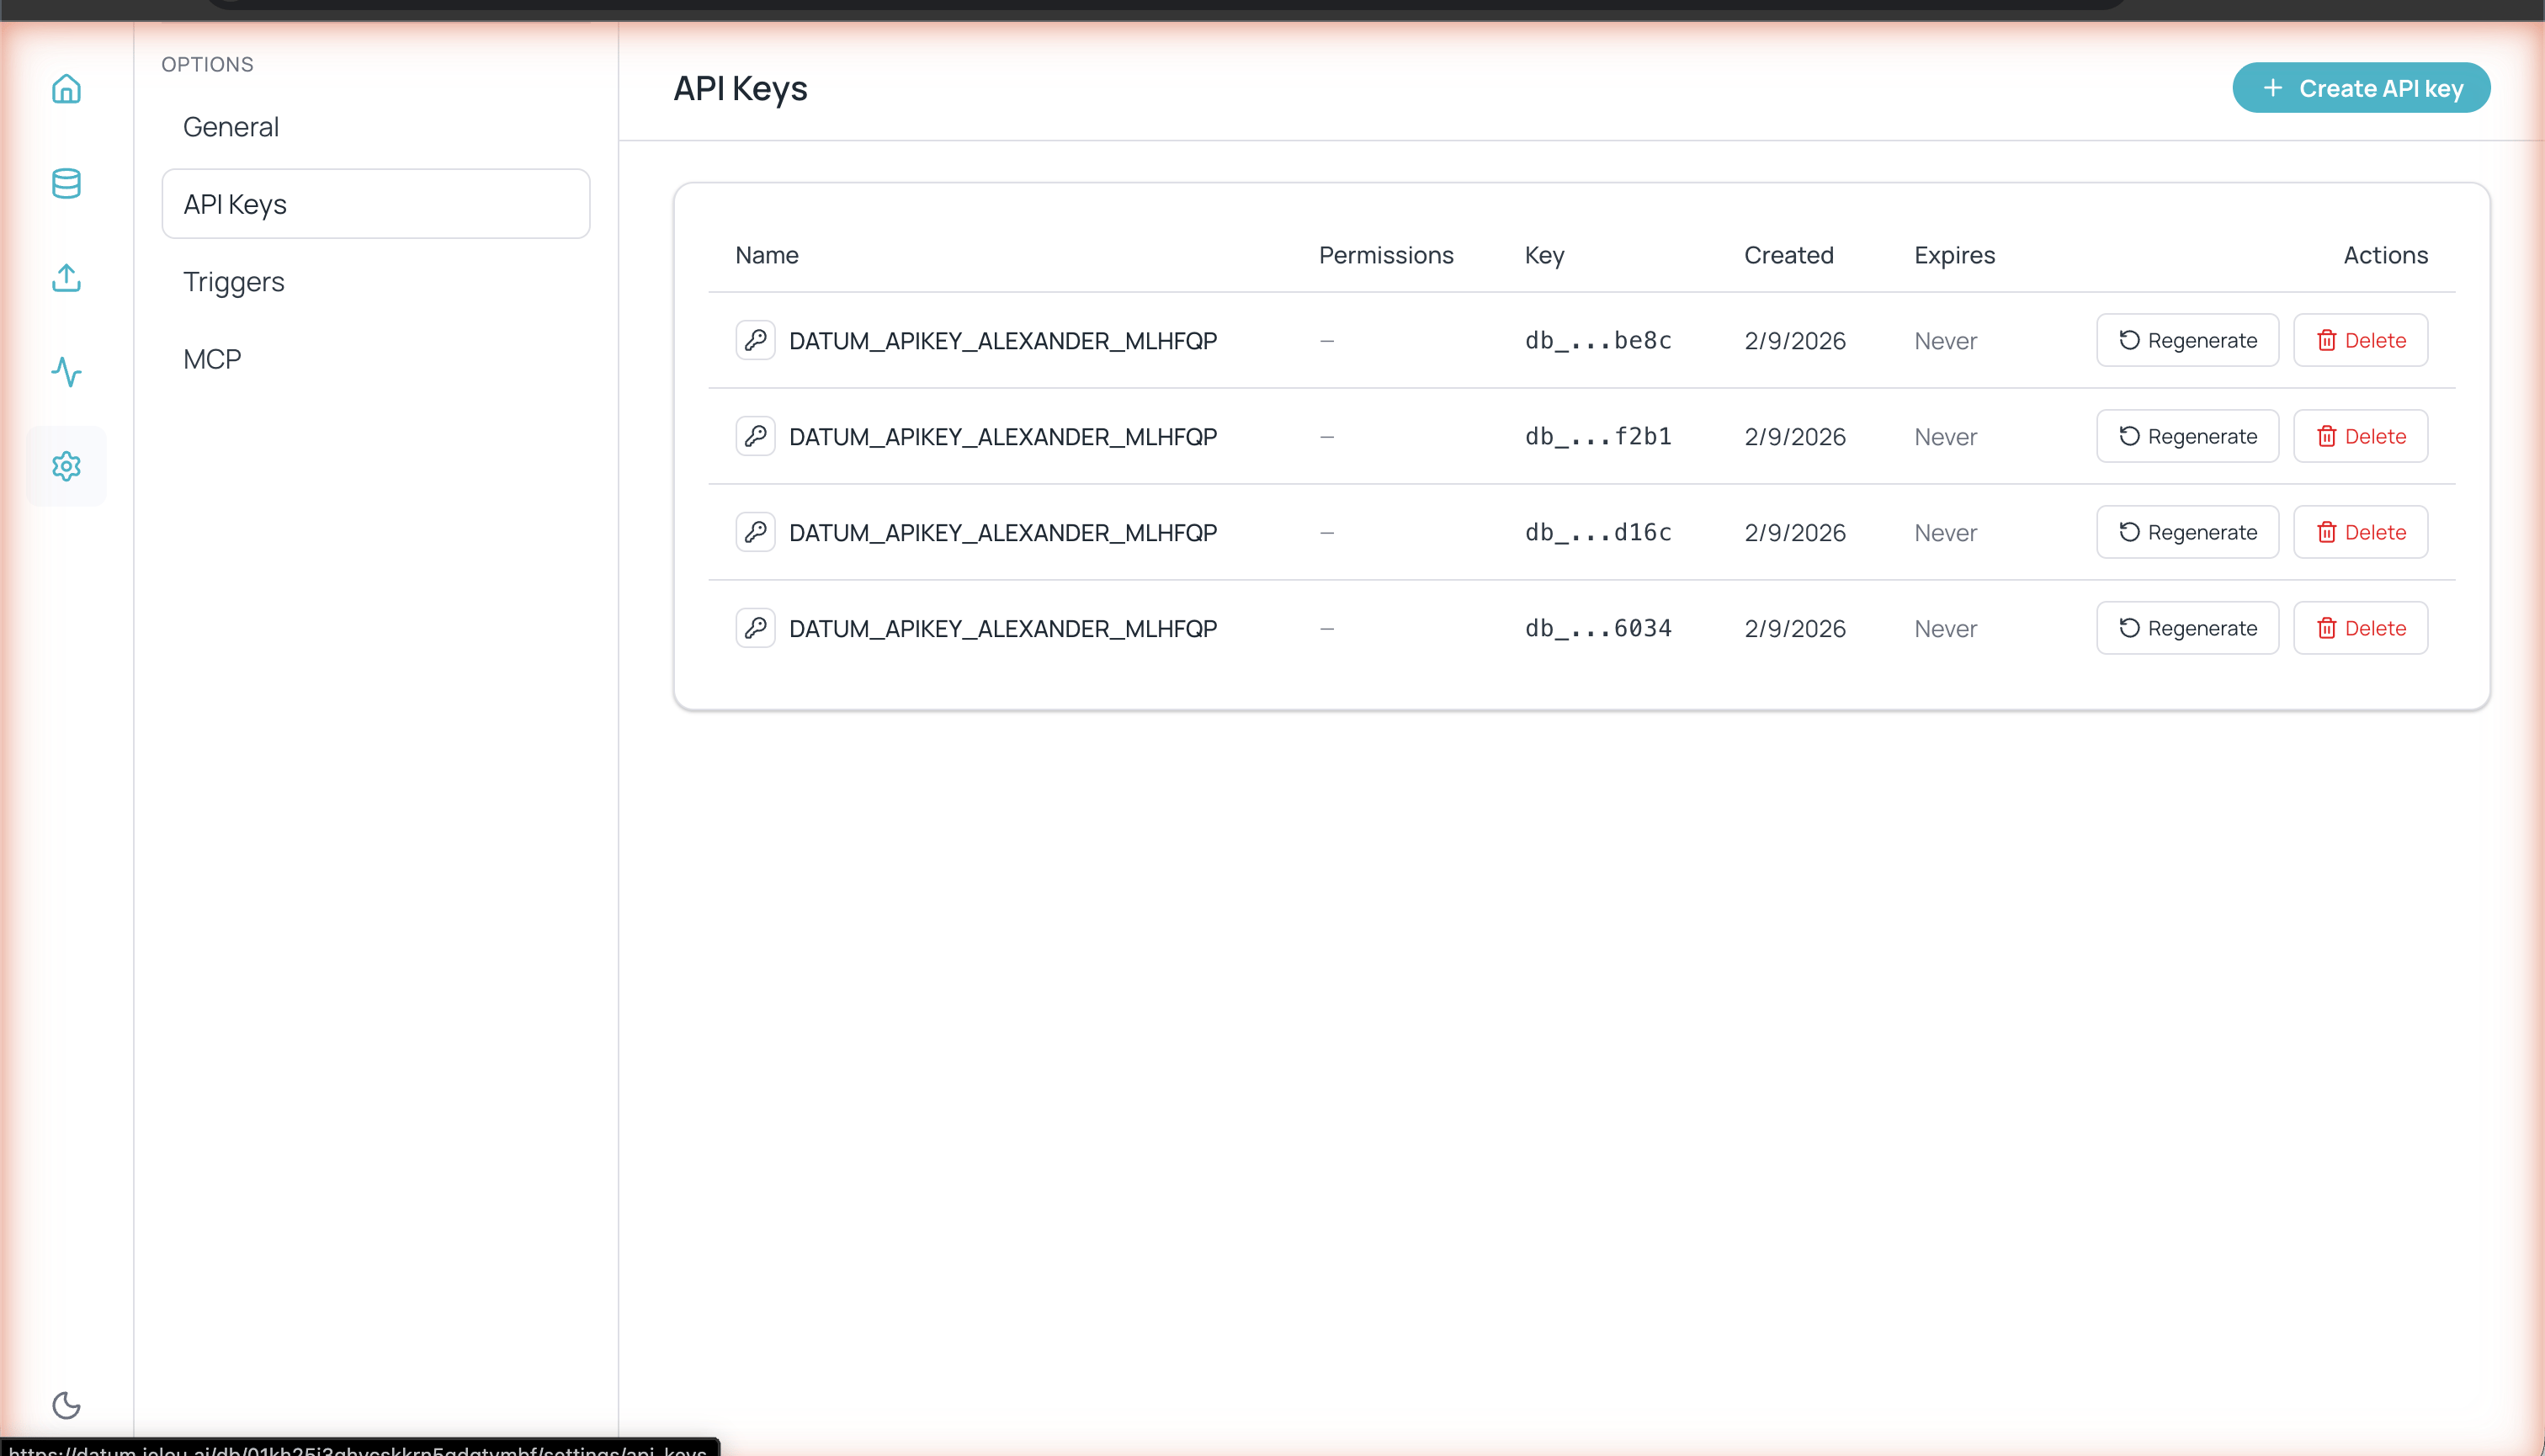
API Keys list with name, permissions, masked key, and actions
Creating an API Key
1
Go to settings
Navigate to Settings > API Keys from the left sidebar.
2
Click + Create API key
The button is located in the upper-right corner.
3
Configure the key
Fill in the following fields:
- Name — A descriptive name to identify the key (e.g. “CI Channel”, “Backend Production”)
- Permissions — Select the permissions the key needs
- Expiration — How long the key should remain valid
4
Click Create
The key is generated and displayed only once. Copy it and store it in a safe place.
Available permissions
Permissions are divided into two categories: Records
Files
Expiration options
Managing API Keys
The API Keys table shows all created keys with the following information:- Name — Key name
- Permissions — Assigned permissions
- Key — The last characters of the key (masked)
- Created — Creation date
- Expires — Expiration date
Available actions
- Regenerate — Generates a new key while keeping the same name, the same permissions, and the original expiration date (the period is not reset). The previous key stops working immediately.
- Delete — Permanently deletes the key. Any application using it will lose access immediately.
Using the API Key
Include the key in theX-Api-Key header of your HTTP requests: