Importing into an existing collection
Click the import icon in the left sidebar and then + New Import to open the wizard.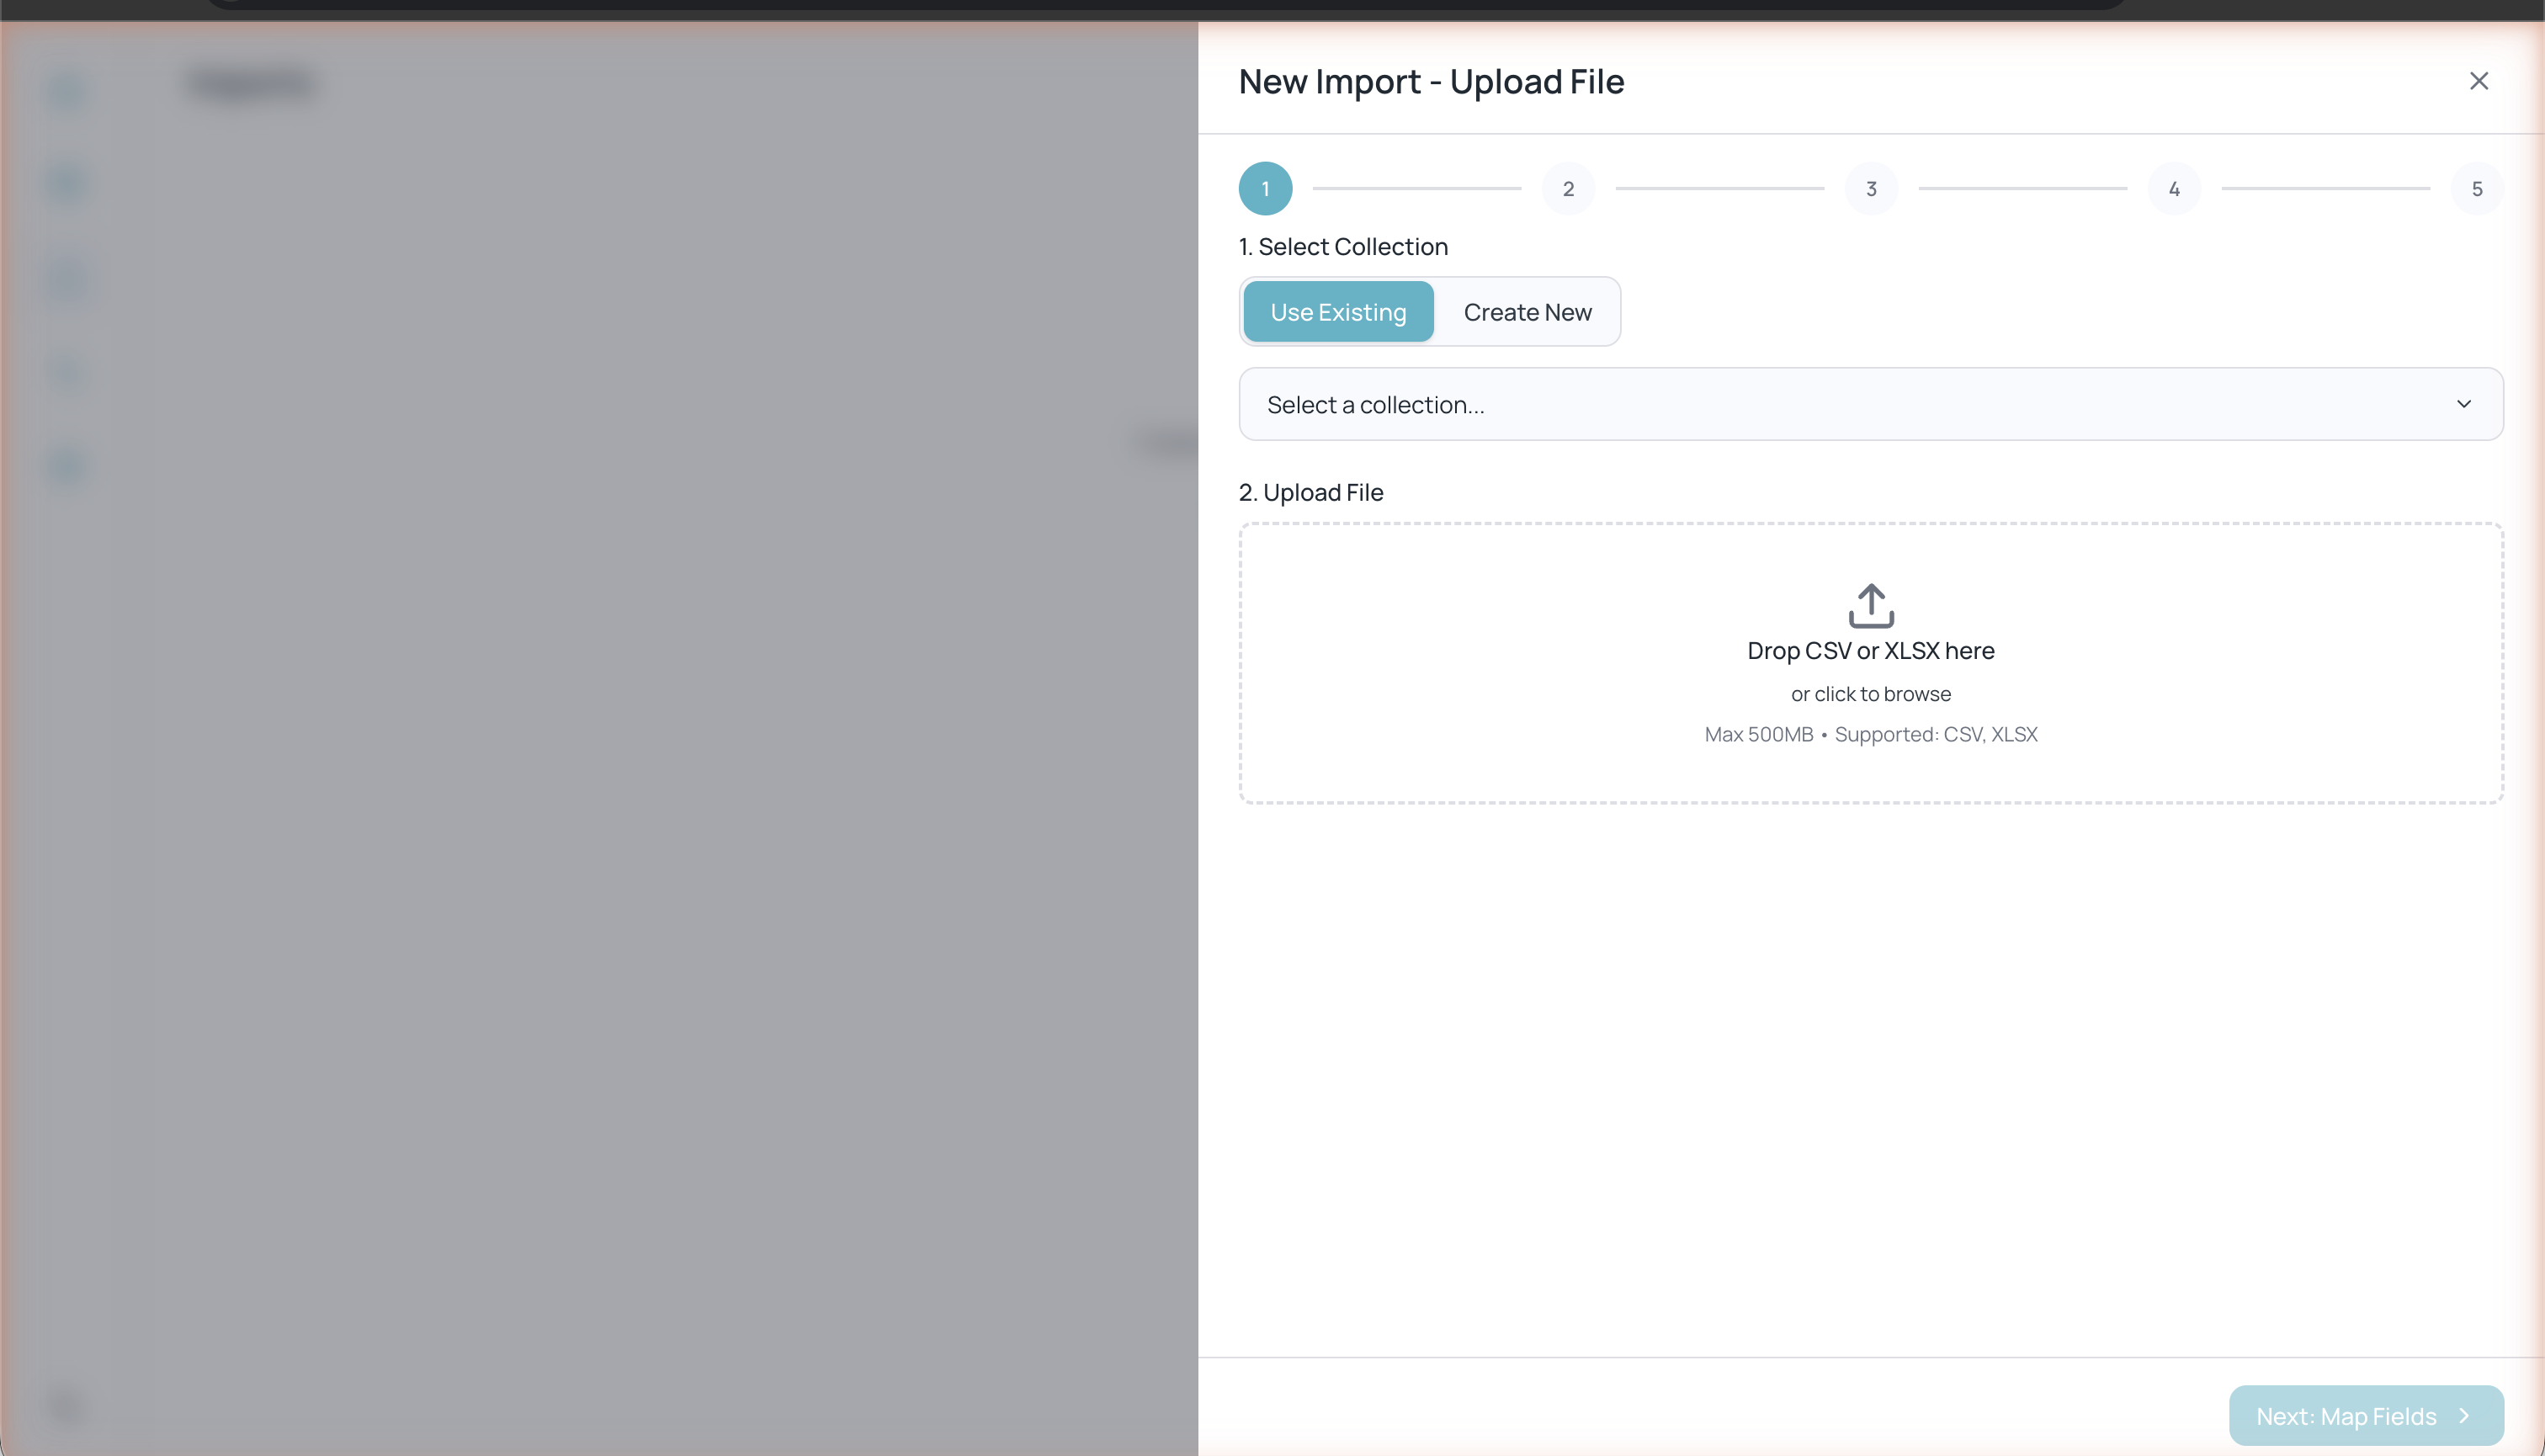
Upload File
Make sure Use Existing is selected, choose the target collection from the dropdown, and drag your CSV or XLSX file to the upload zone (or click to select it).
Maximum file size: 500 MB. Supported formats: CSV and XLSX.
Review Mappings
Map each collection field to a column in the CSV file. The wizard automatically detects matches (e.g. an
email field is mapped automatically). For each field you can select a Subtype (General Text, ID Number) and a Country when applicable. CSV columns you don’t map will appear in the Unused CSV columns section and will be ignored.Configure Options
Optionally enable Enable duplicate detection so Databases checks for existing records and avoids duplicates during the import.
Preview Data
Review a preview of the first rows. You will see counters for valid rows, errors, and duplicates. Click any row to see the error details.
Importing by creating a new collection
Upload File
Click + New Import, select Create New, enter the name of the new collection, and upload your CSV or XLSX file.
Define Fields
Databases will automatically infer field types from the file’s columns. You can adjust the types manually if needed.