Prerequisites
Before connecting the WhatsApp channel, make sure you have:- An active Jelou account
- An active and verified Facebook / Meta Business Manager account
- An available phone number (we recommend one that is not linked to other WhatsApp applications)
Self Service accounts connect their WhatsApp number by signing in directly with Facebook. No additional technical setup or intervention from the Jelou team is required.
Where can you connect WhatsApp?
You can start connecting a WhatsApp channel from two places in Jelou:- From Brain Studio
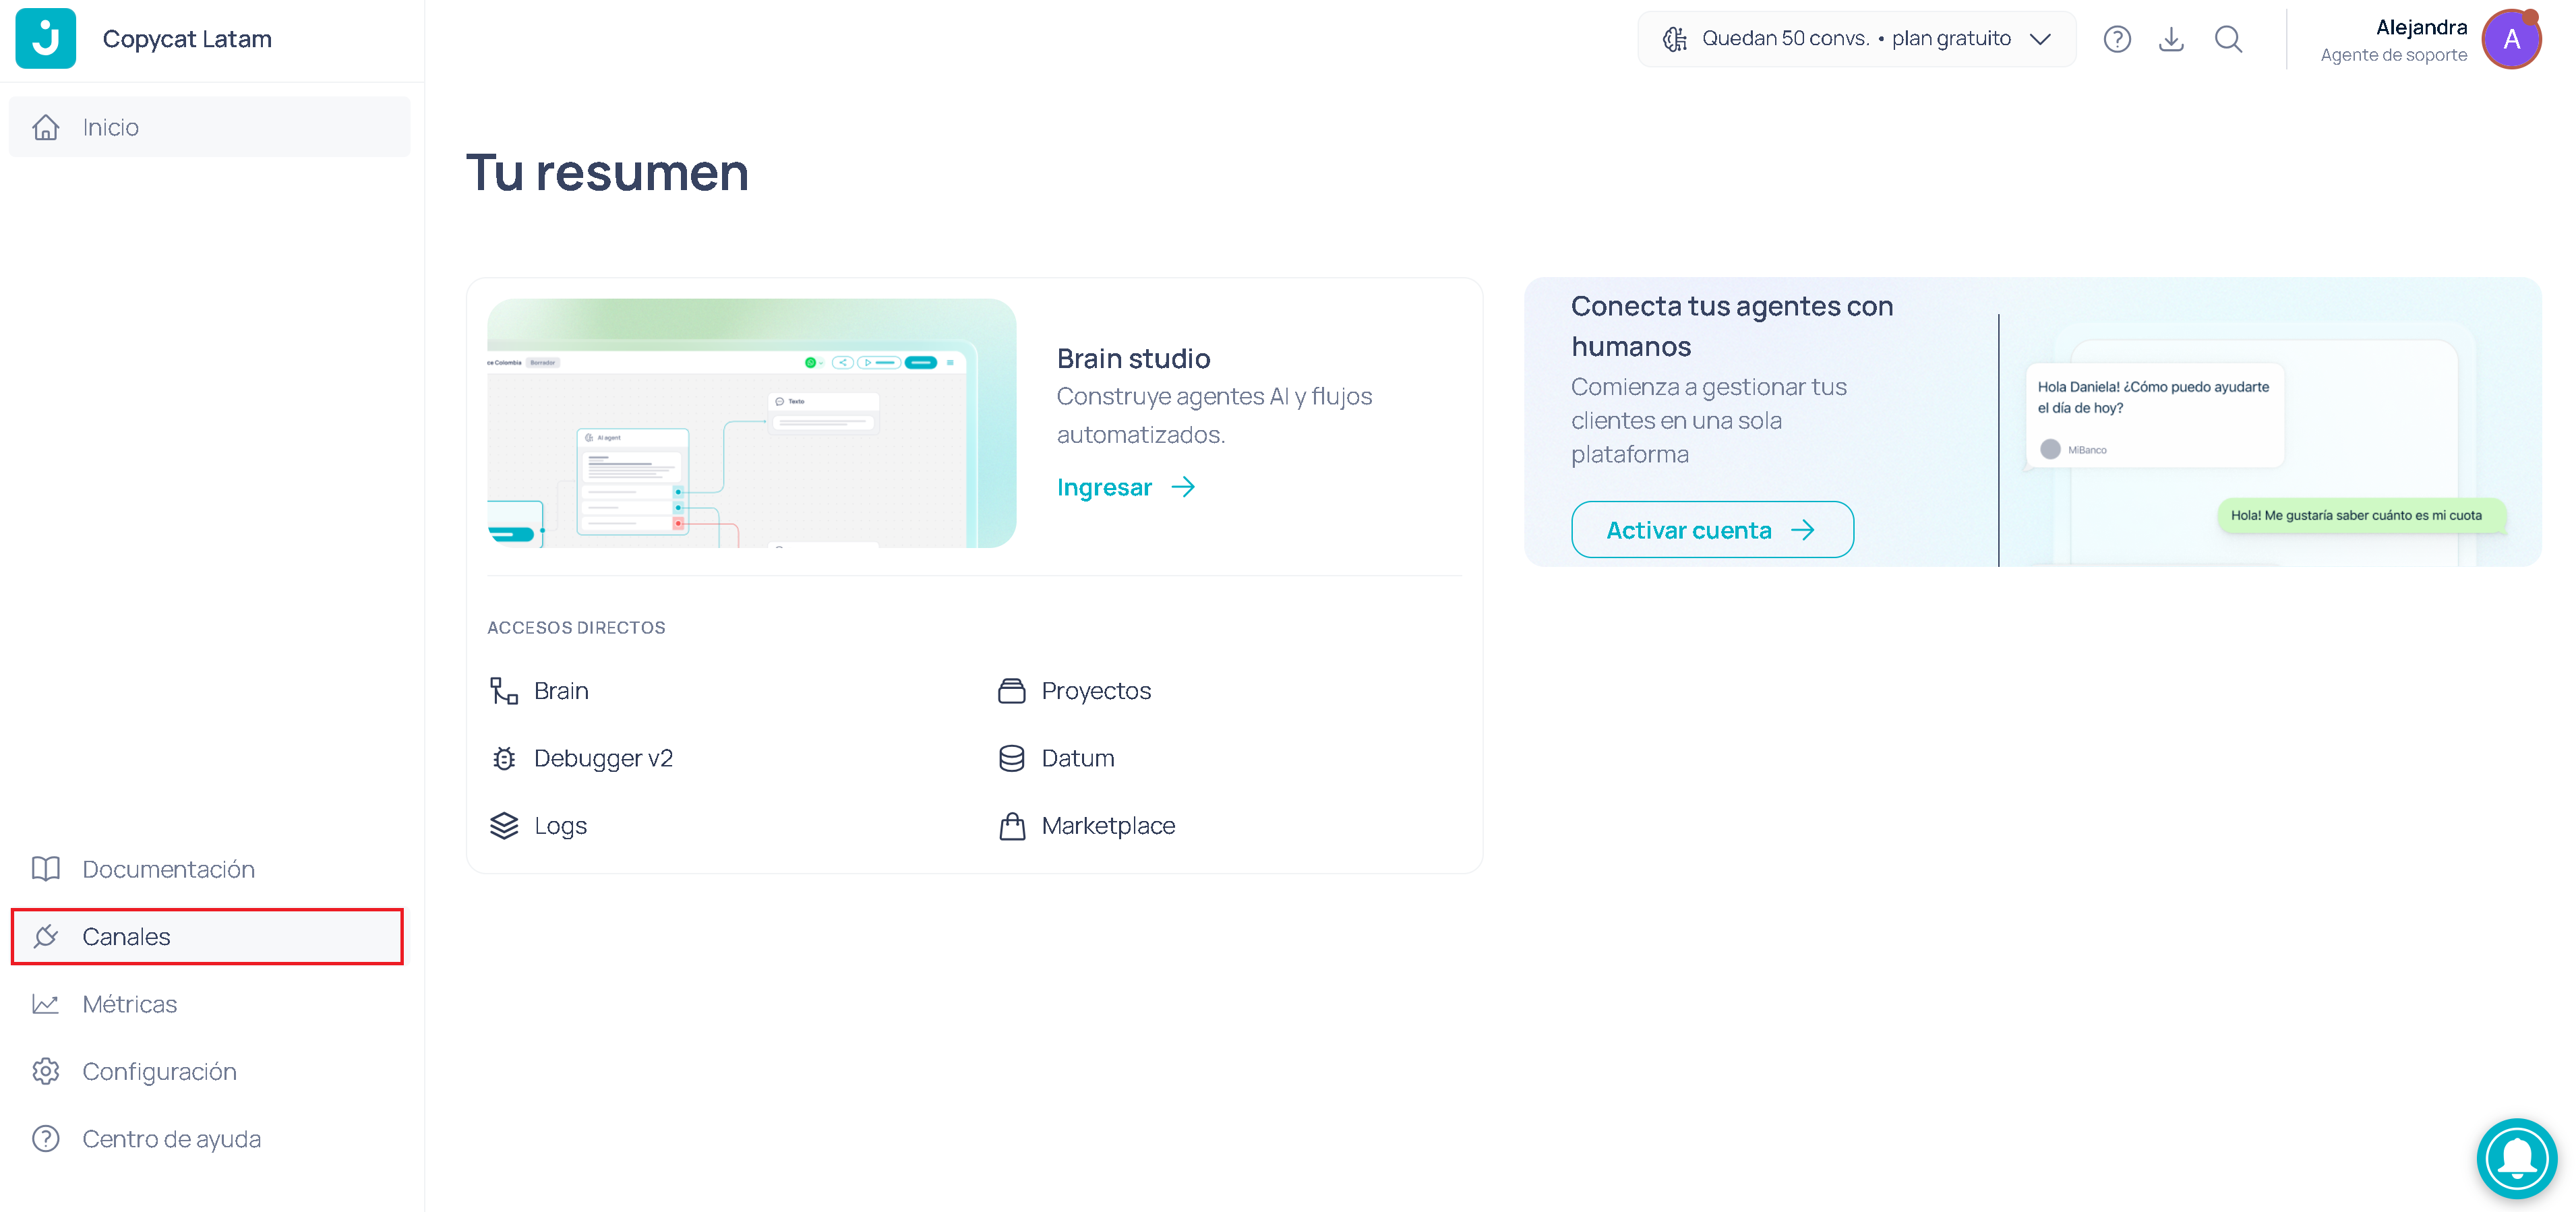
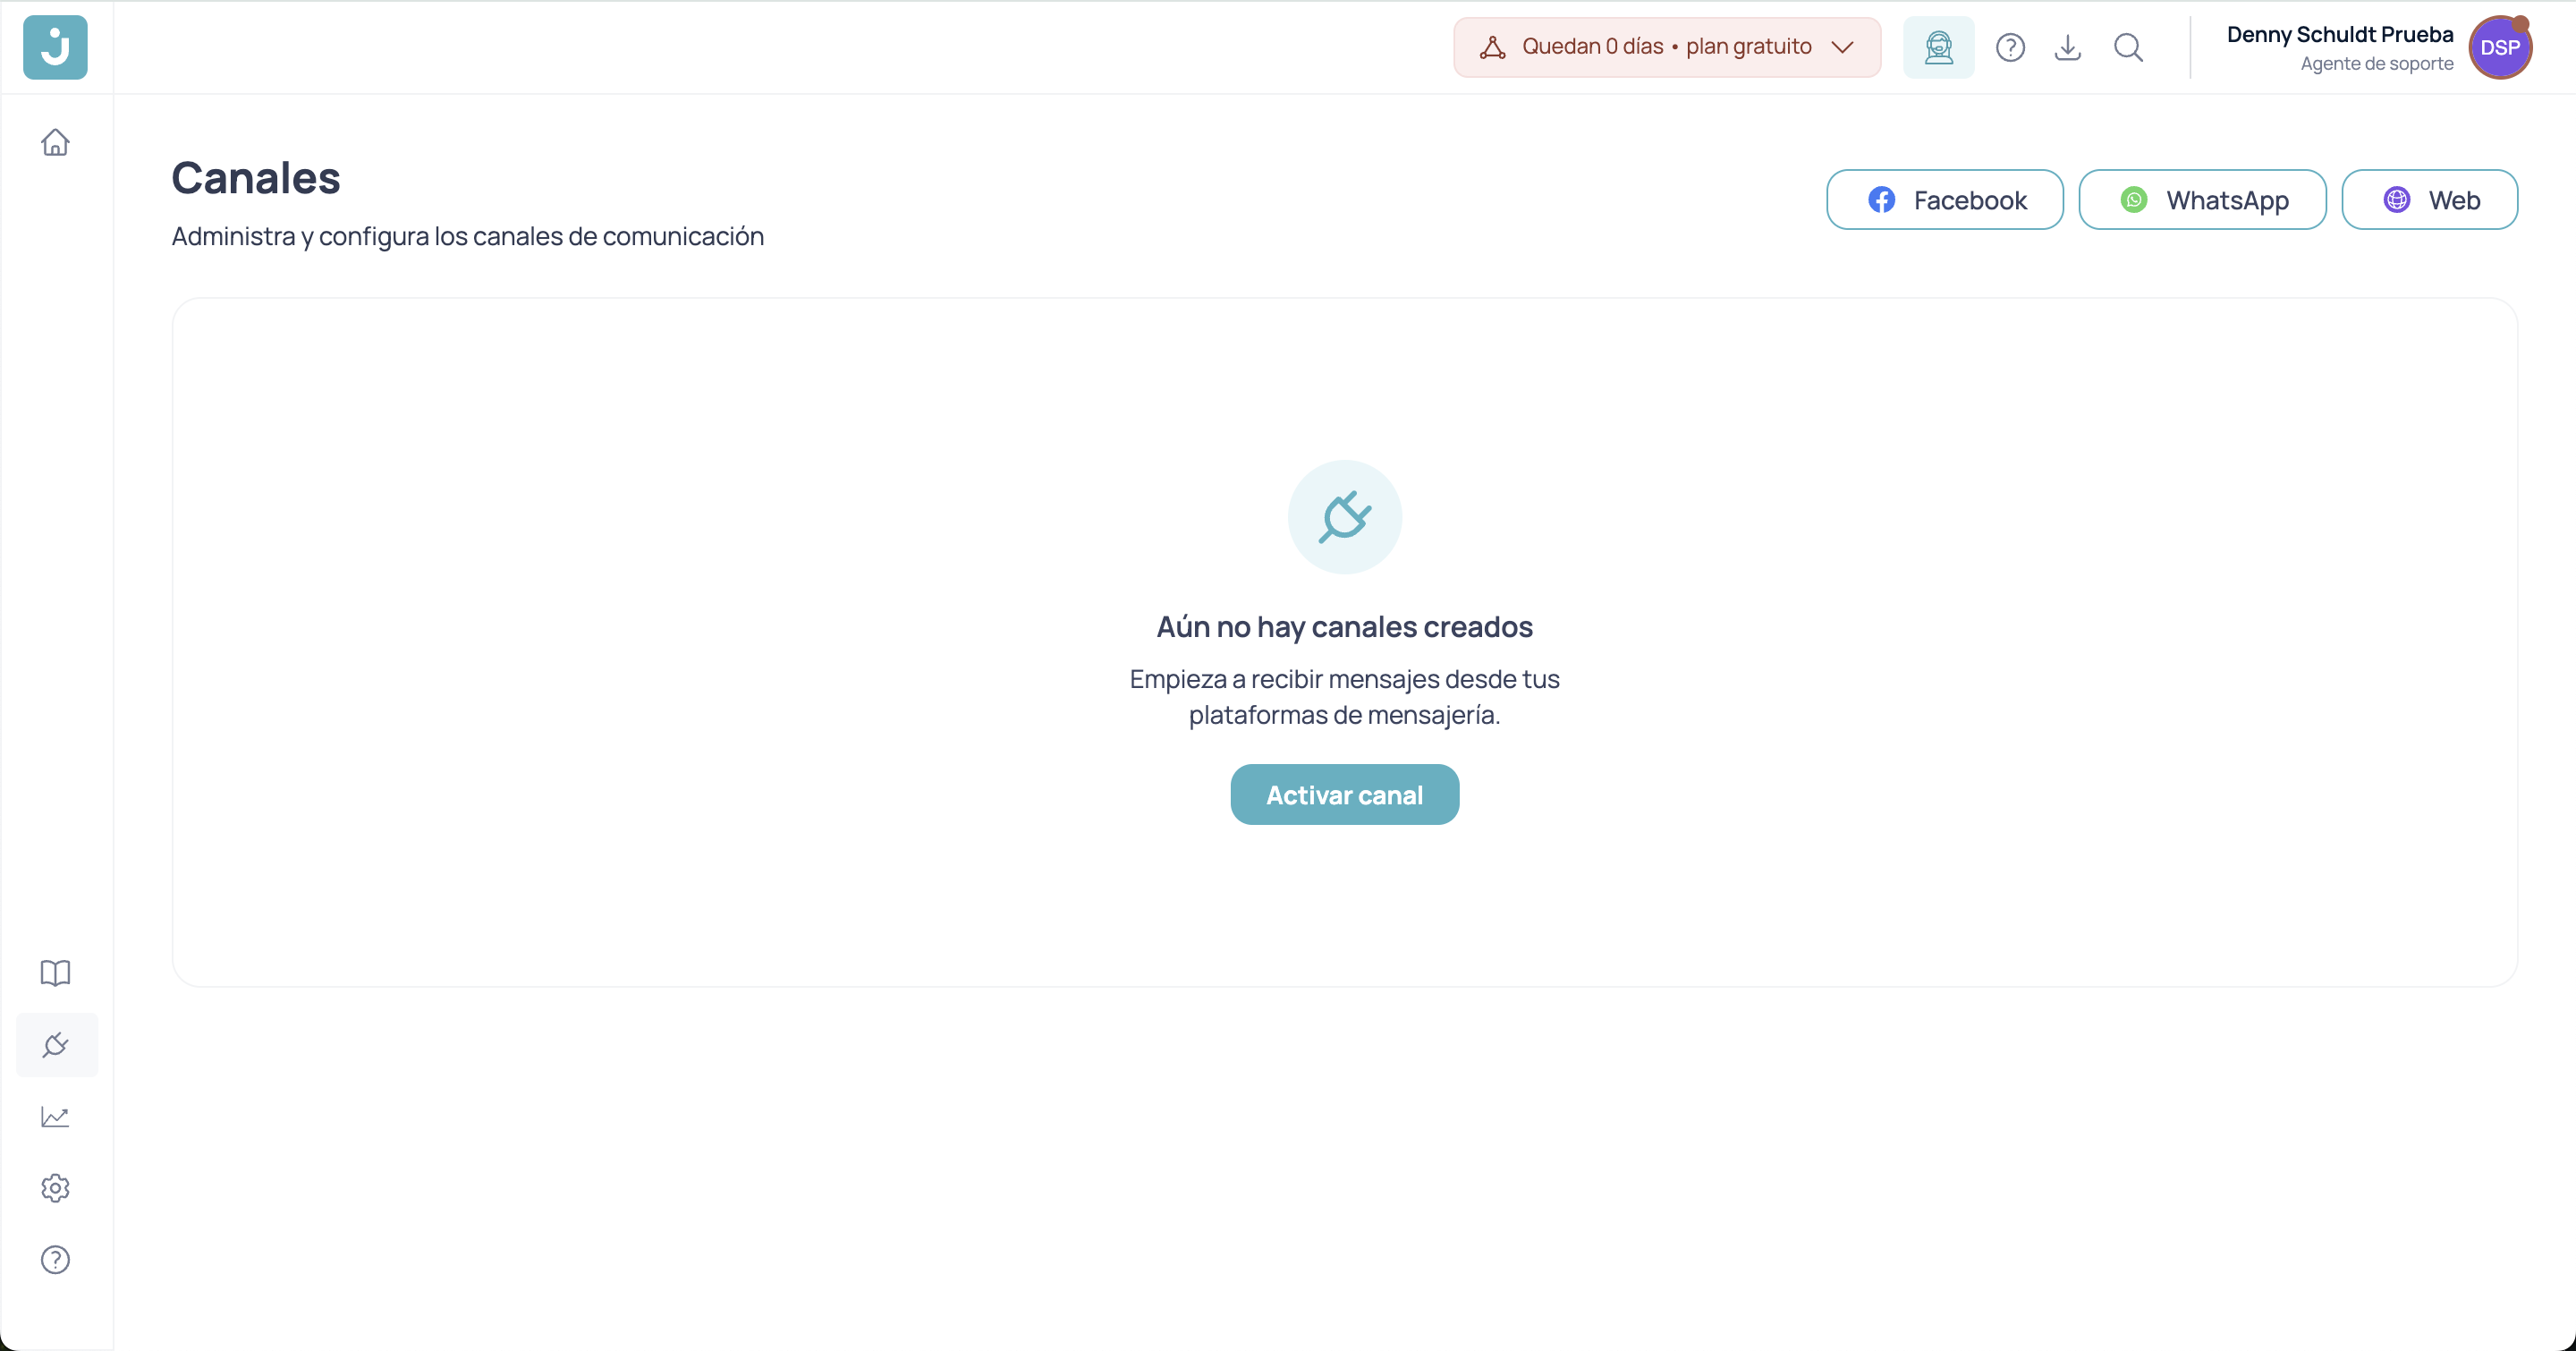
- From the Channels section
While working on a project in Brain Studio, you can connect a channel from two places:
-
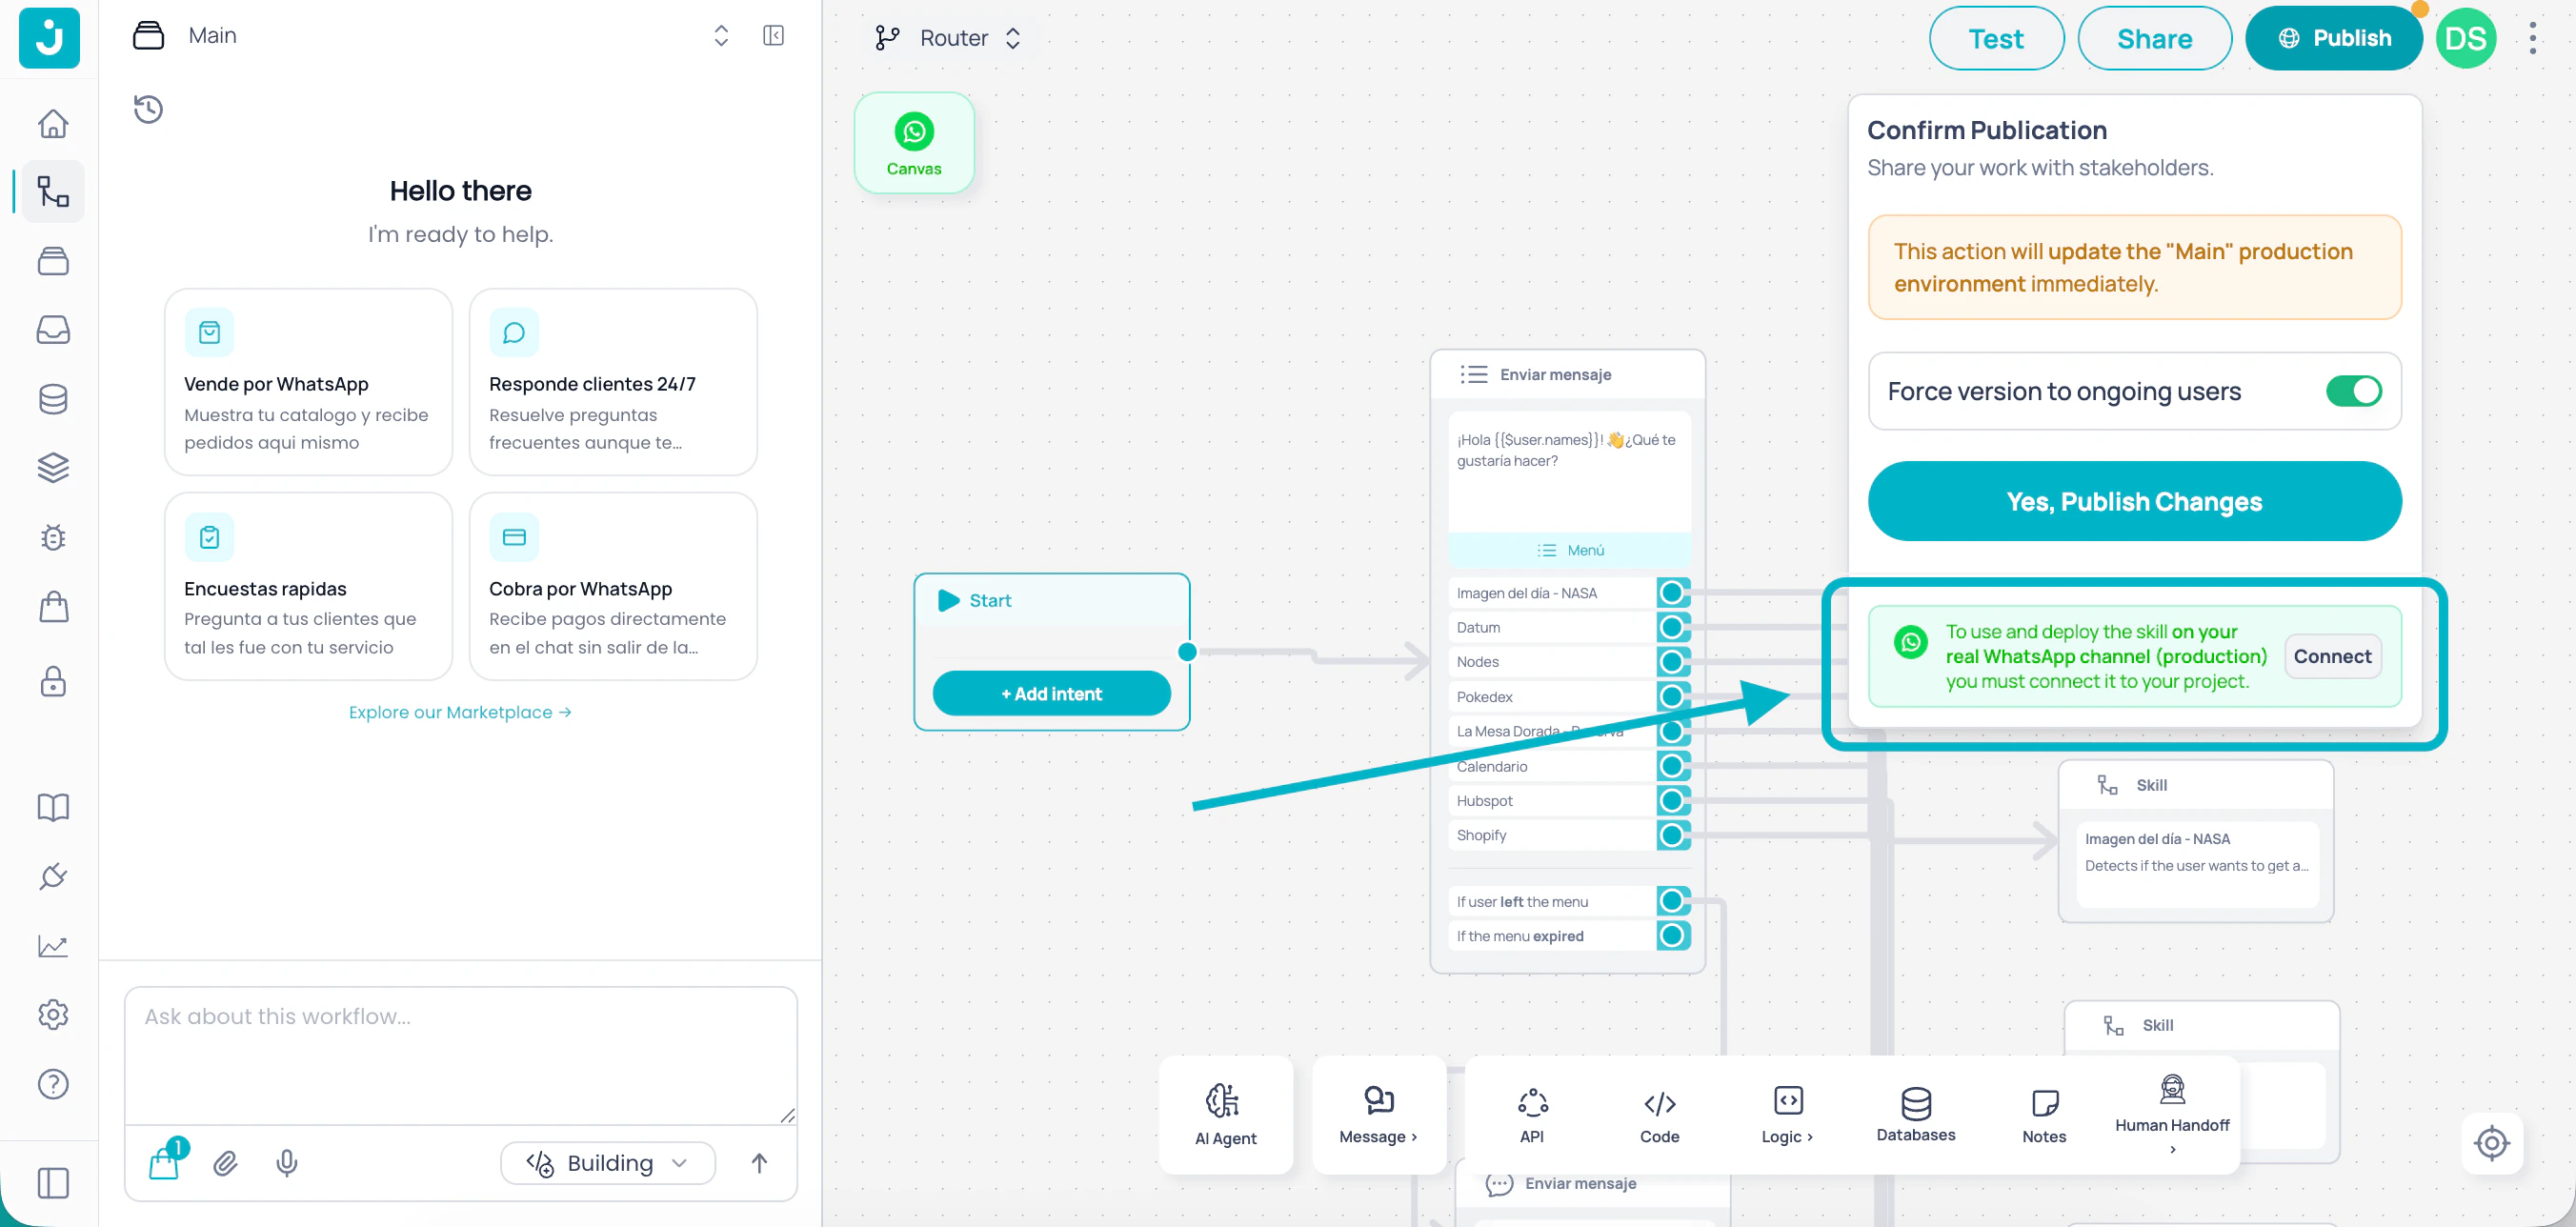
Publish button: click Publish and then Connect your channel at the bottom of the panel.
-
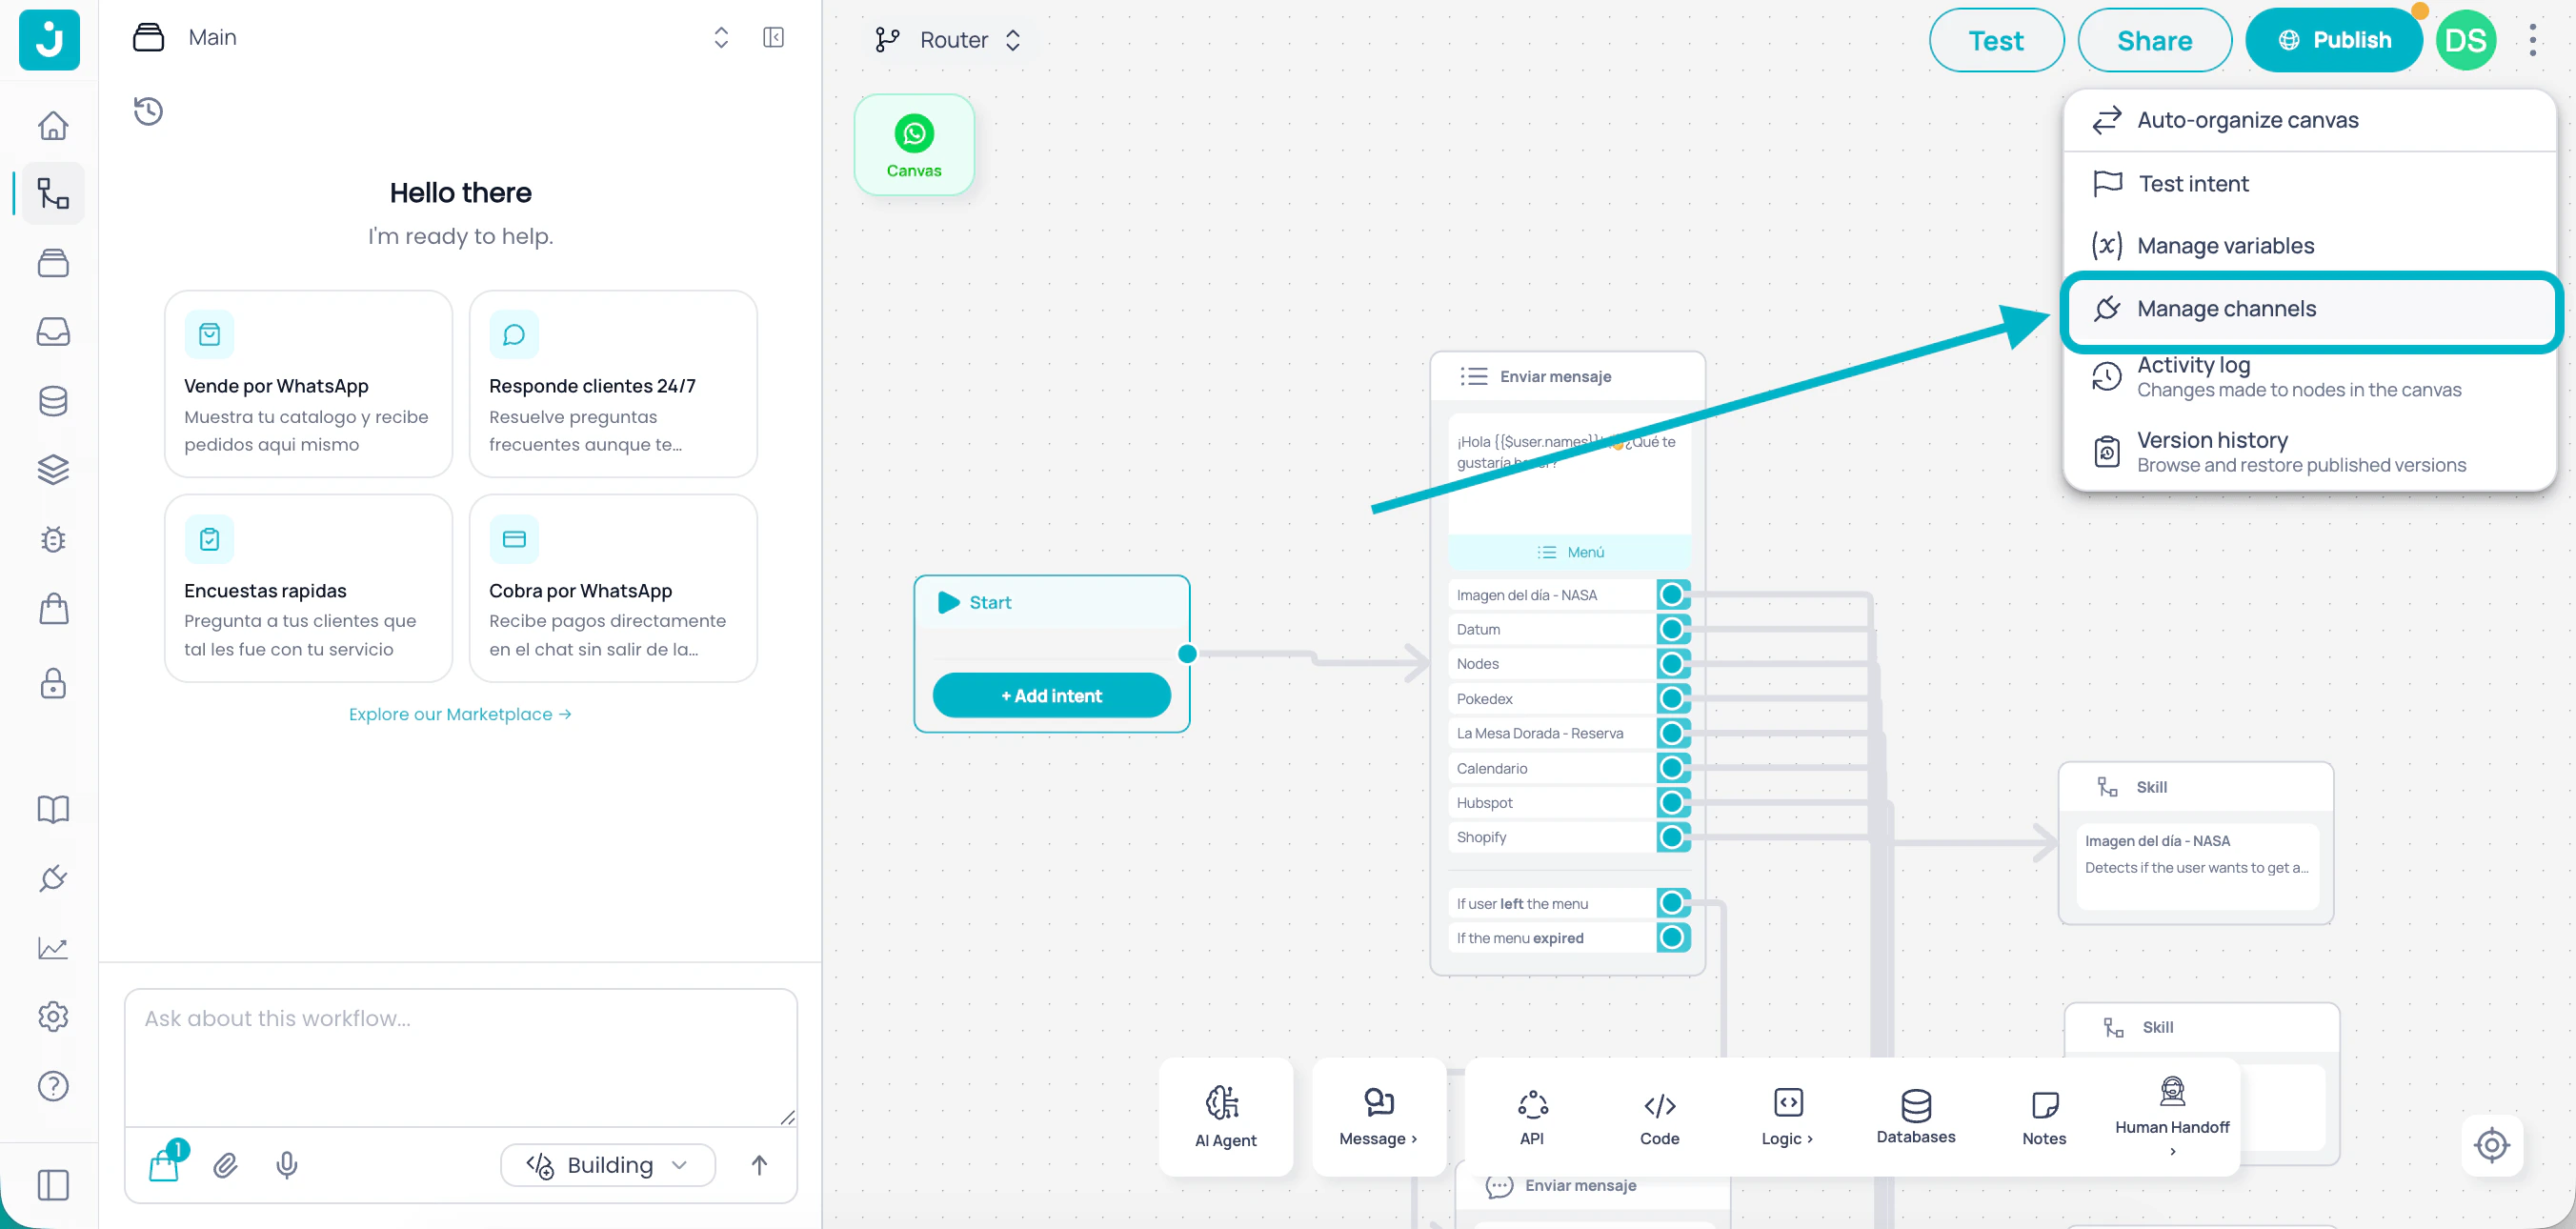
Manage channels: click Manage channels in the menu at the top-right corner of the canvas.
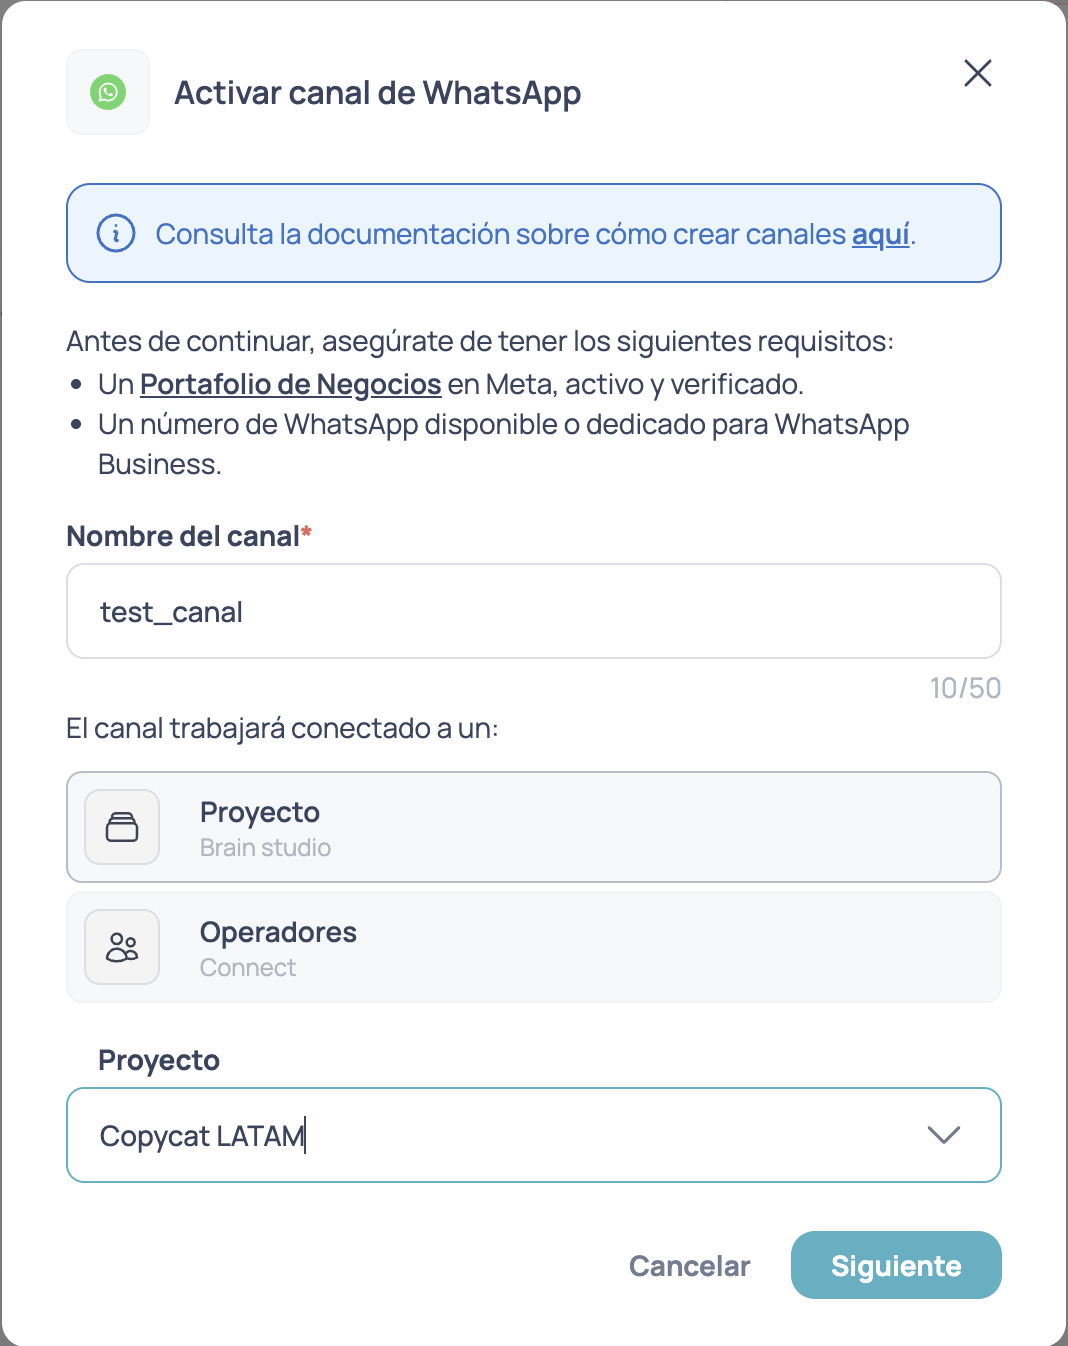
Step 1: Channel name
Assign a name that clearly identifies the channel. It must meet:- Minimum 4 characters
- Maximum 50 characters
Step 2: Select the integration
Choose which Jelou product this channel will connect to:Step 3: Select a project
If you chose Brain Studio, you must select the project that will handle conversations.If you started the connection from Brain Studio, the active project is selected automatically. If you came from the Channels section, you must choose it manually.
Step 4: Connect with Facebook
This is the core of the process for Self Service accounts. Jelou uses Meta’s official flow to link your WhatsApp Business, so you must sign in with your Facebook account.1
Sign in with Facebook
Click Log in with Facebook. A popup will open with Meta’s authentication flow.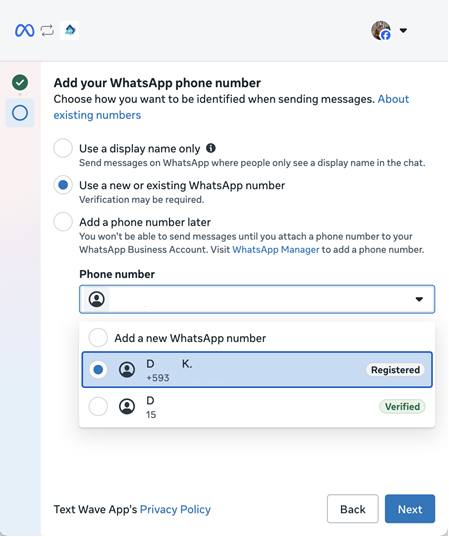
2
Select your business portfolio
Choose the Facebook Business account that will own the WhatsApp number.
3
Create or select your WhatsApp Business Account (WABA)
You can create a new WABA or select an existing one. If there is no WABA associated with the chosen business, one will be created automatically.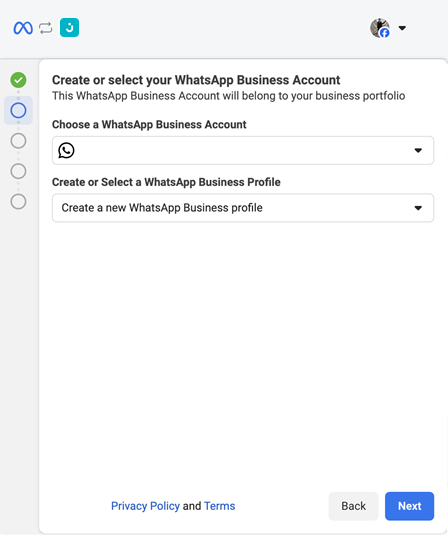
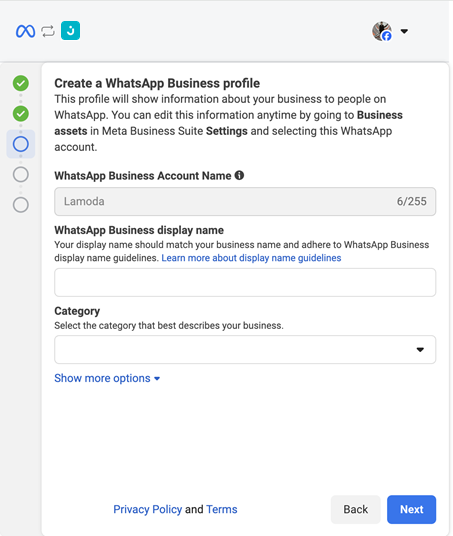
- Enter your business display name on WhatsApp (follow Meta’s guidelines to avoid rejections).
- Select the category that best describes your company.
4
Add or choose a phone number
Connect the phone number you will use on WhatsApp: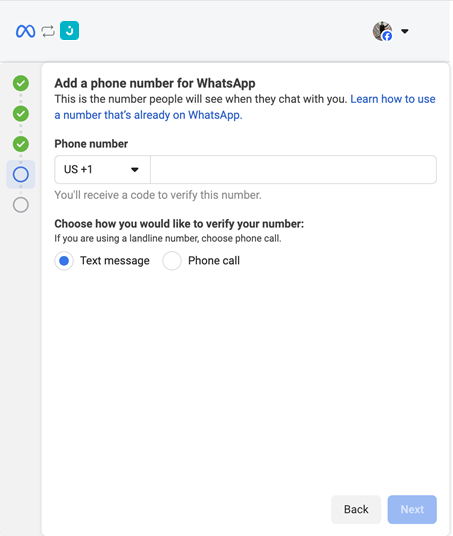
- If it is a new number: enter it and provide the verification code you receive by SMS or call.
- If you already have a WhatsApp Business number in use: select it from the list of available numbers.
The verification code appears in Jelou. Enter it before it expires.
5
Accept permissions and finish
Accept the permissions Jelou requests to manage messages on your behalf.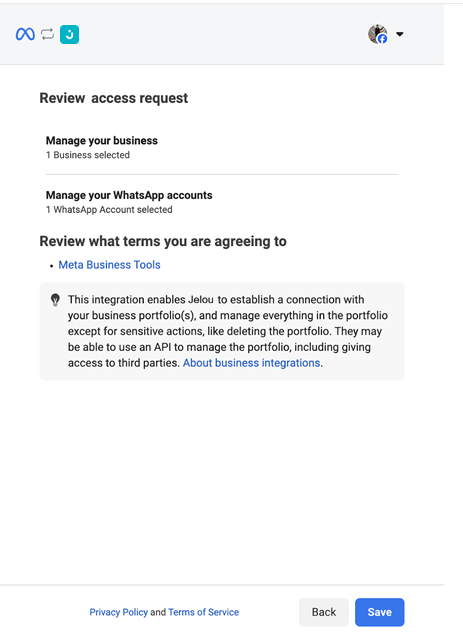
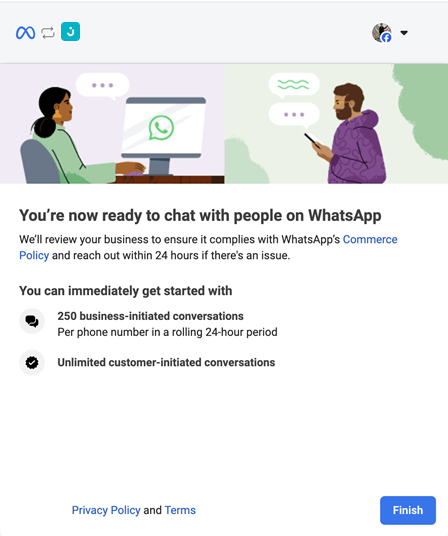
Step 5: Accept the terms and activate the channel
Back in the Jelou modal, accept the terms and conditions. Your number will be registered on Facebook Cloud and ready to receive and send conversations.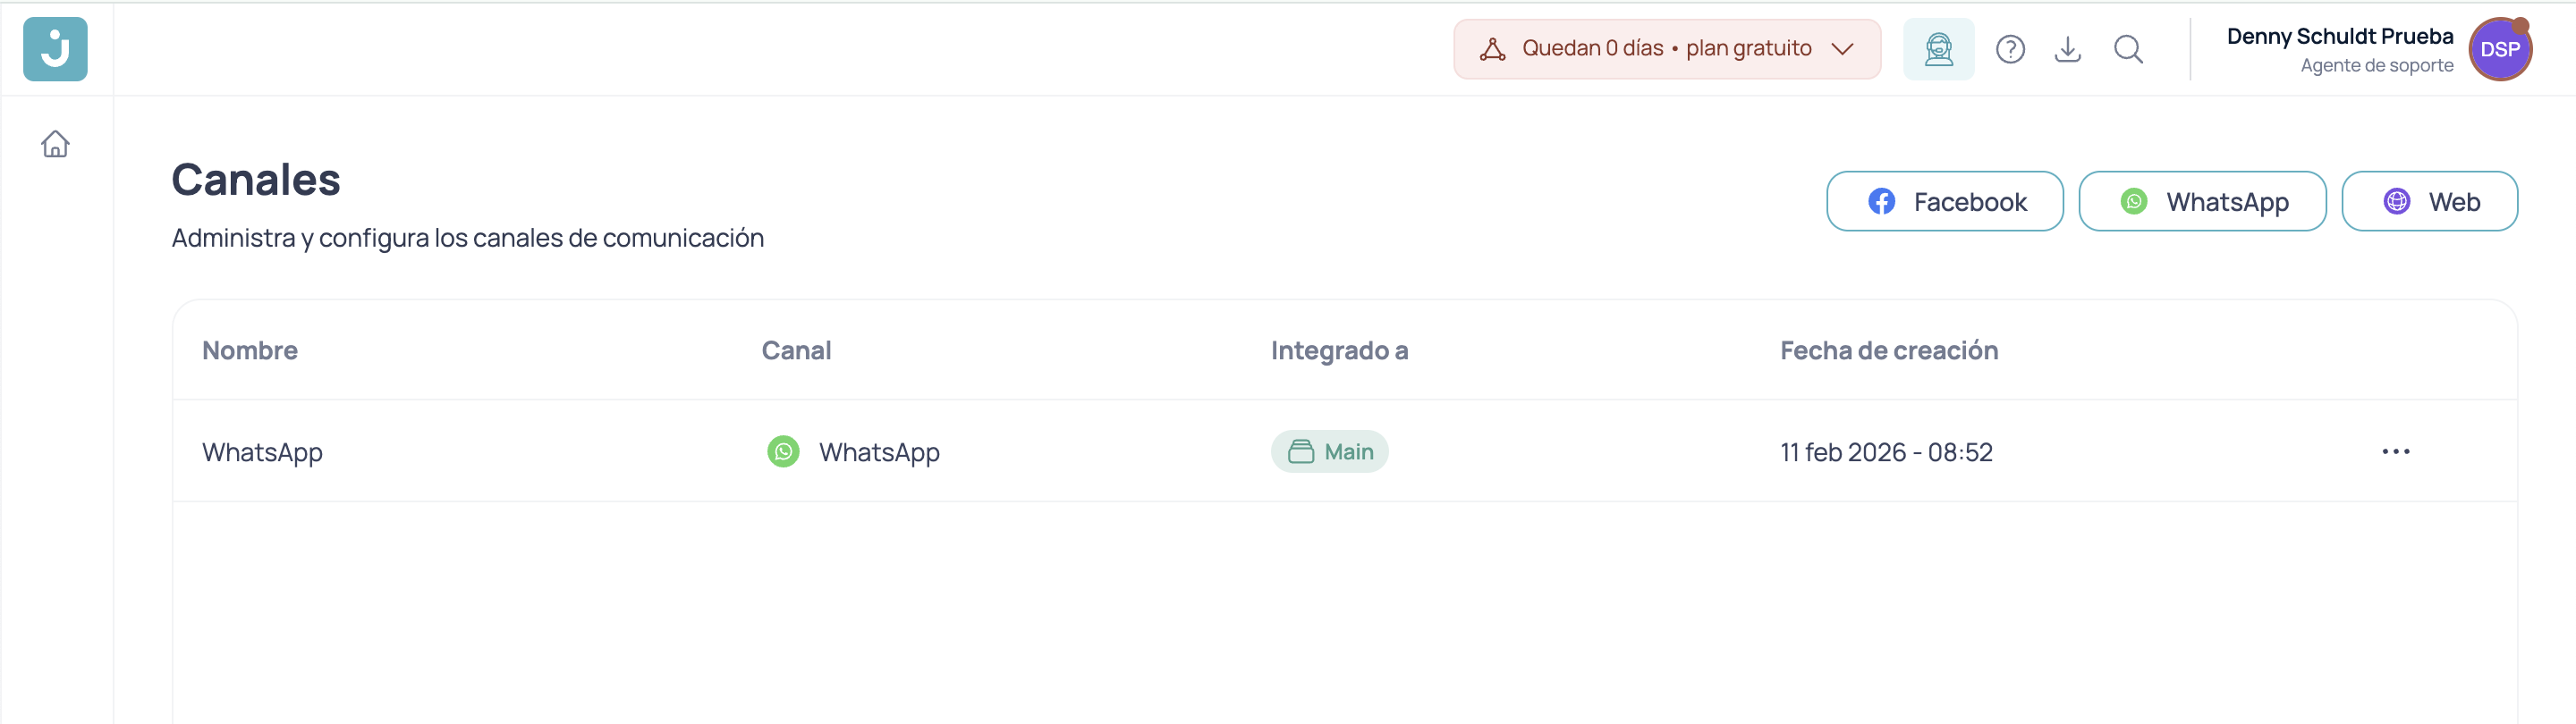
WhatsApp Business account verification
Verifying your WhatsApp Business account lets you move beyond the 250 conversations per month limit and reach 1,000 or more. Without verification, your number will operate at reduced capacity.
Next steps
Once the channel is active you can:- Configure your WhatsApp-approved message templates (HSM)
- Test sending and receiving messages
- Connect the channel to an automated flow in Brain Studio
- Escalate conversations to human agents in Connect
- Run campaigns using approved templates
Best practices
- Respond quickly: WhatsApp monitors response times and may limit your account if they are slow.
- Respect the 24-hour window: After 24 hours without a user reply, you need an approved template to resume the conversation.
- Maintain quality: Avoid unsolicited bulk messages; user complaints can restrict your number.
- Use appropriate templates: Pick the right template for each conversation context.
WhatsApp charges per conversation according to its pricing model. See Billing for more on costs.