Documentation Index
Fetch the complete documentation index at: https://docs.jelou.ai/llms.txt
Use this file to discover all available pages before exploring further.
Prerequisites
Before activating the WhatsApp channel, make sure you have:- An active Jelou account
- A WhatsApp Business API account
- An active and verified Facebook Business Manager account
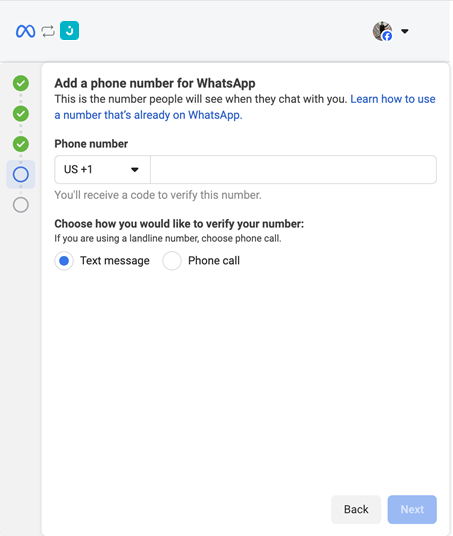
- A verified phone number for WhatsApp Business
Basic configuration
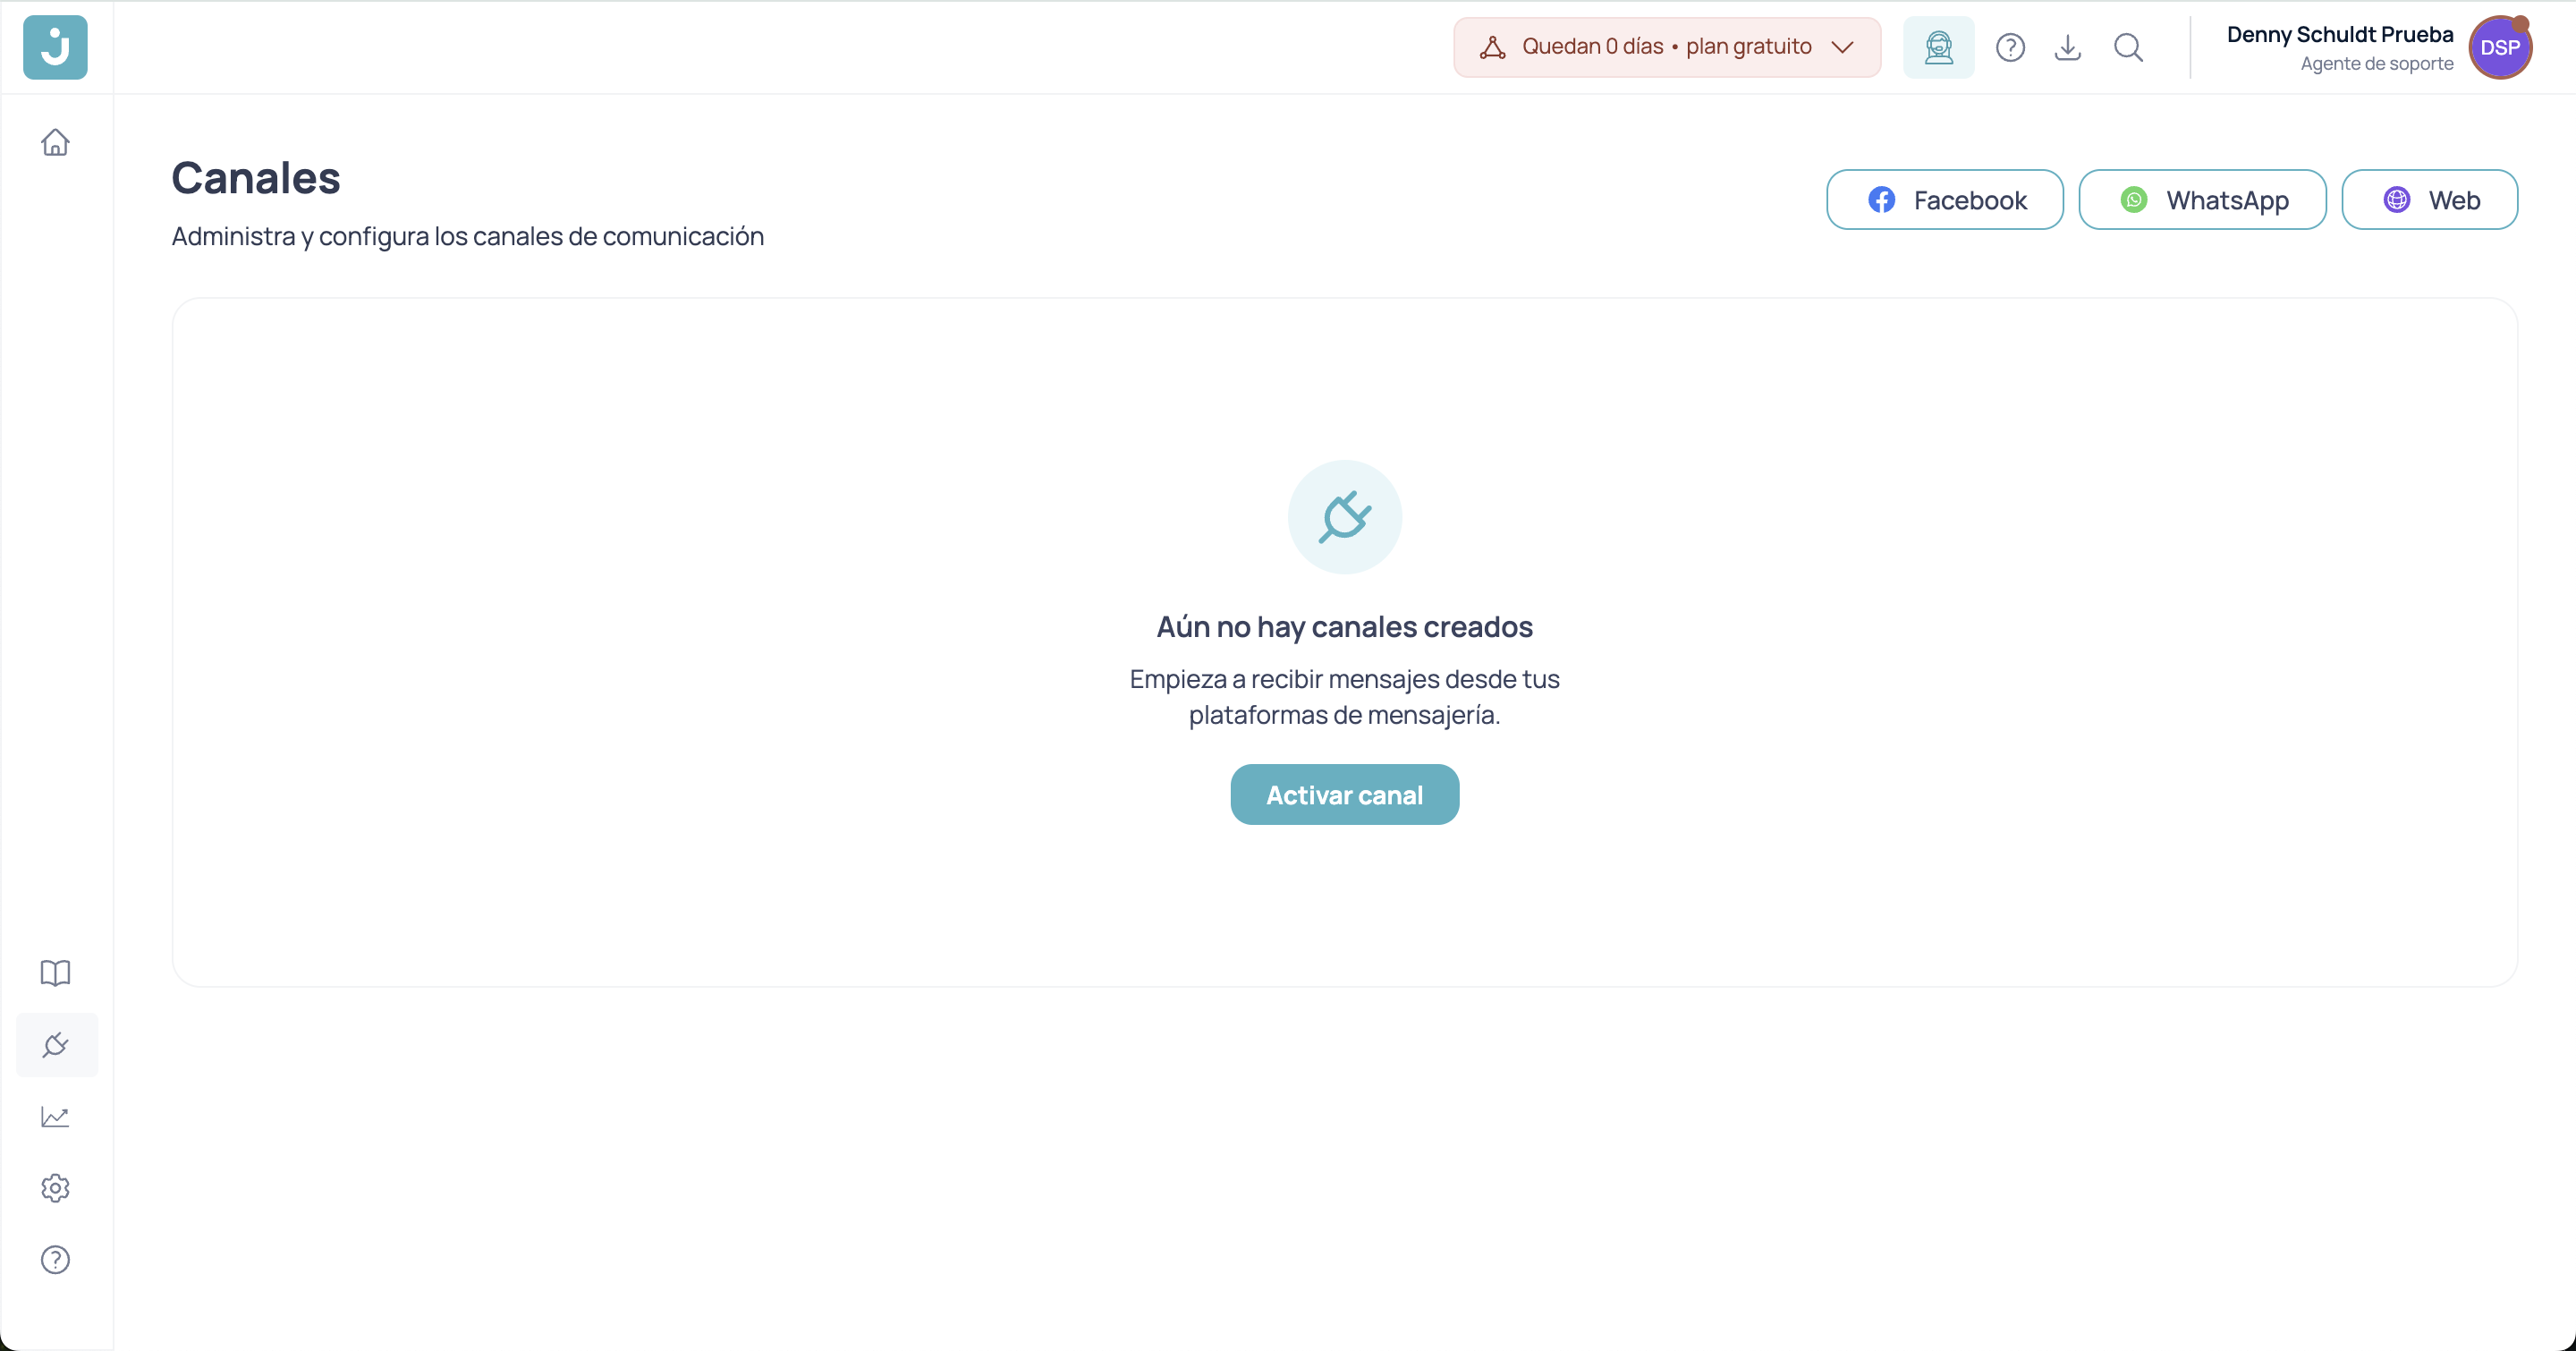
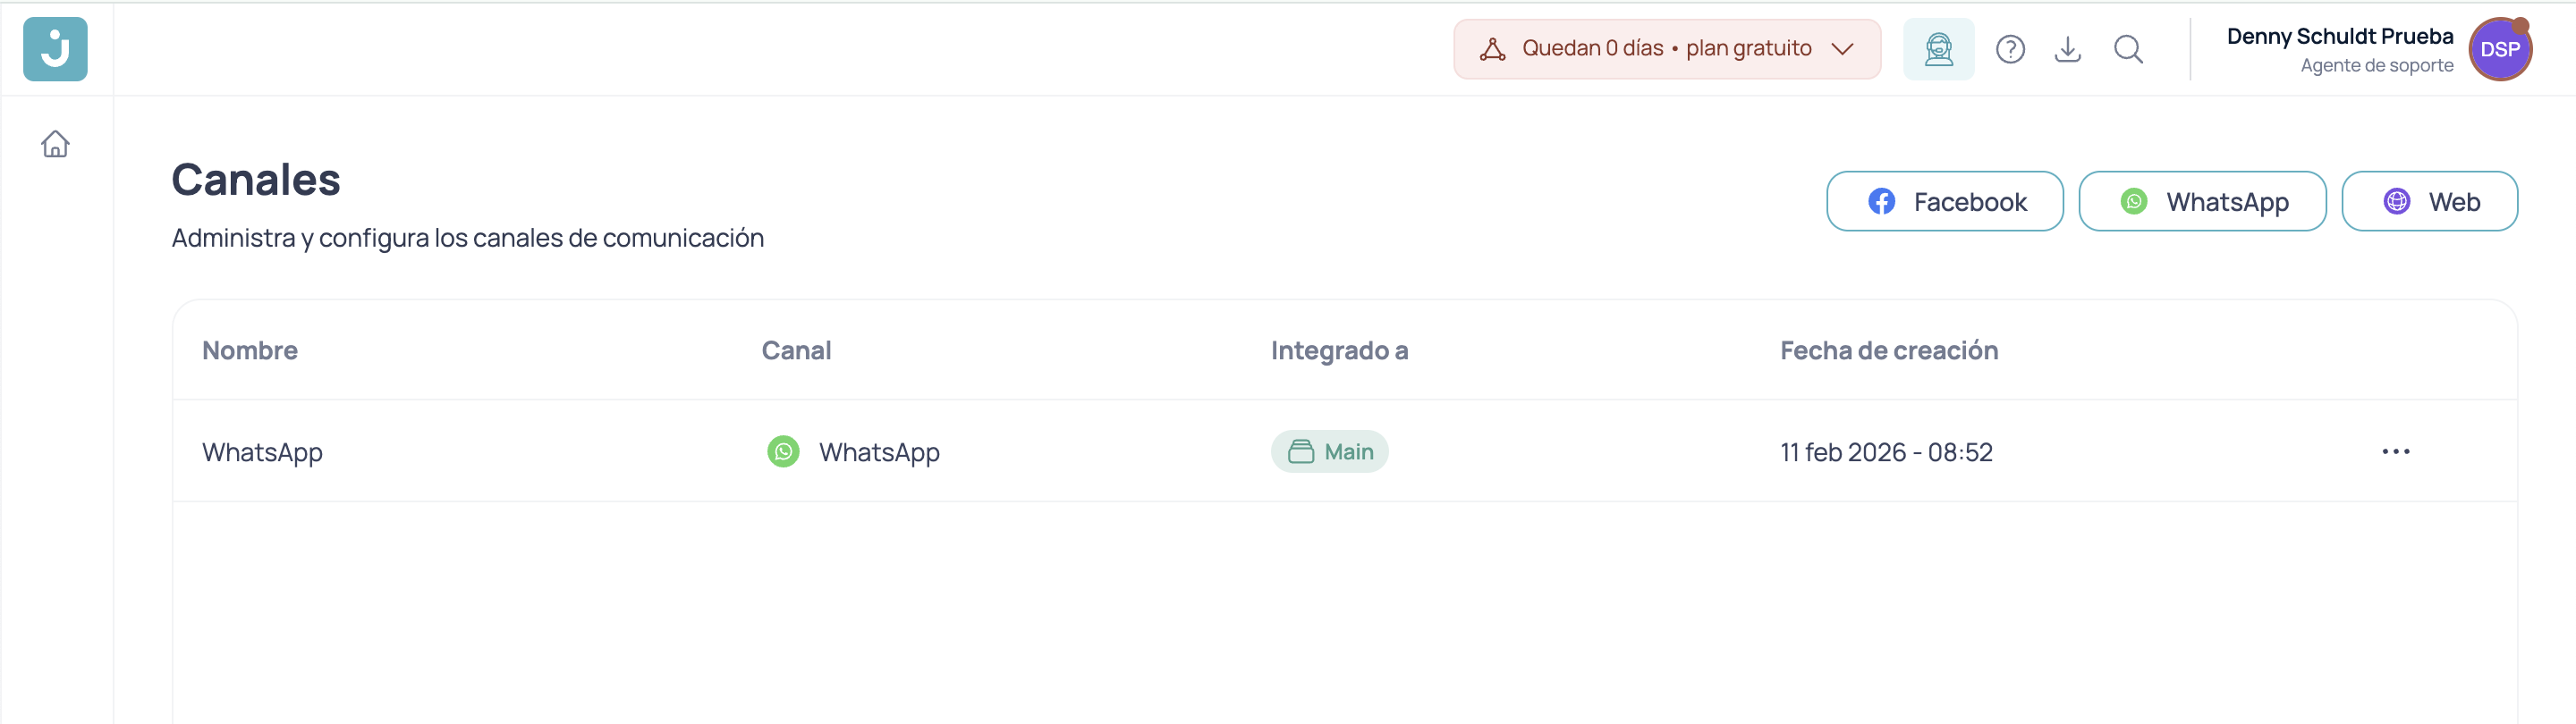
To access channels from your dashboard, go to the left menu and click Channels.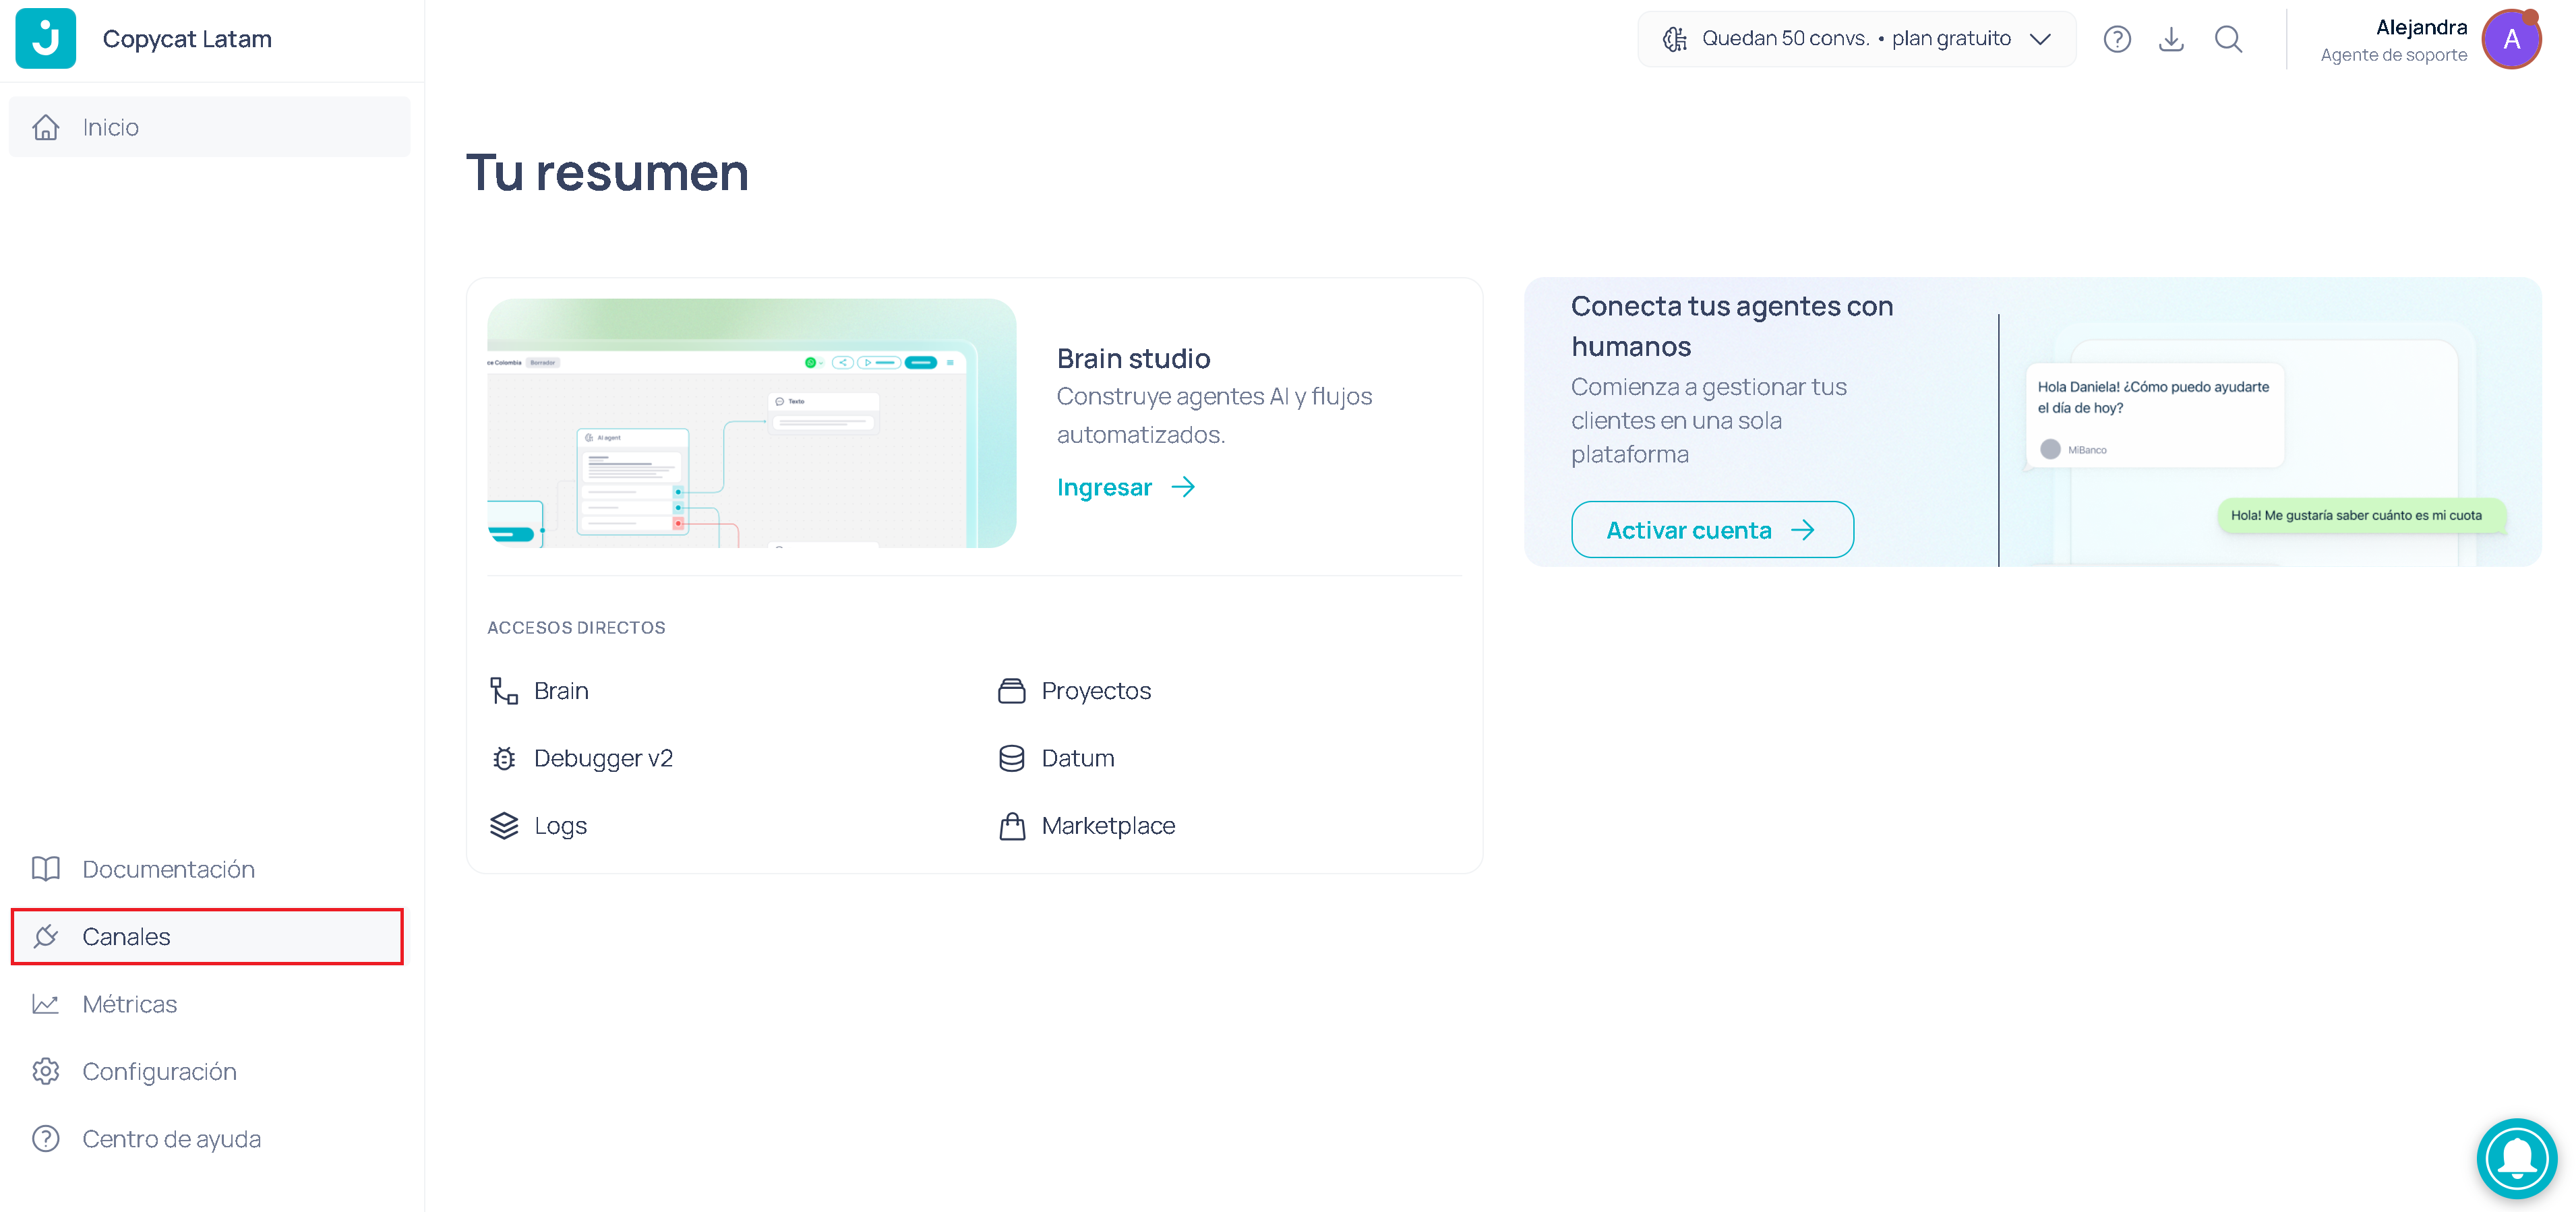
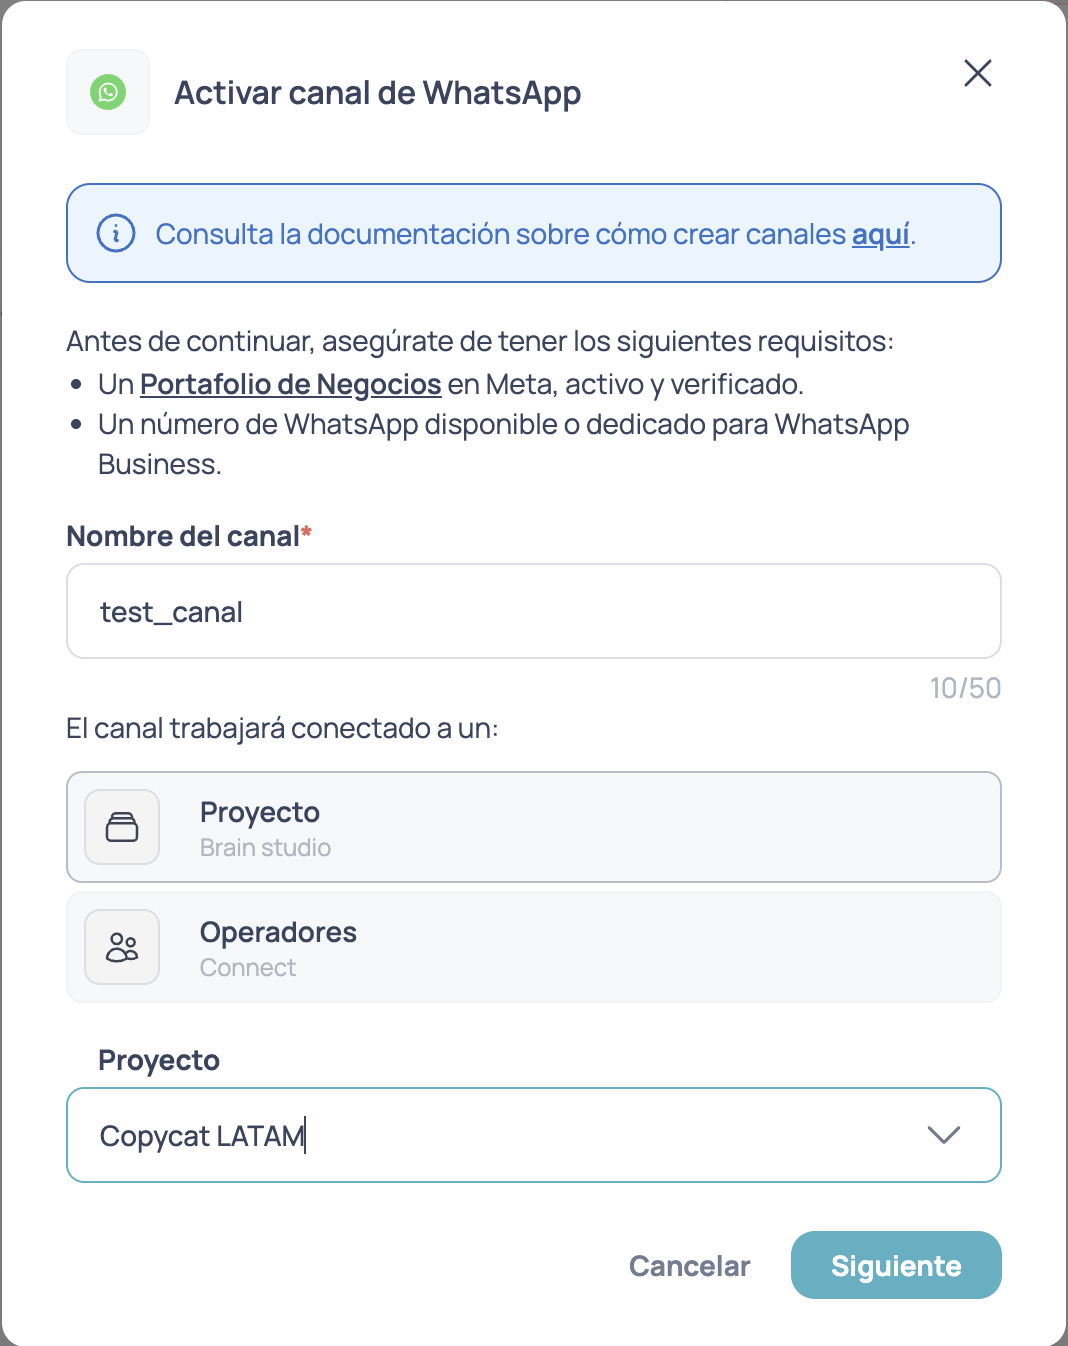
- Assign a name to your channel.
- Choose the tool you want to connect to (Brain Studio or Connect).
- Select the project (created agent) you want to connect the channel to.
Step 1: Channel name
The channel name must meet the following requirements:- A name between 4 and 50 characters.
- It cannot exceed 50 characters.
- Use a name that clearly identifies the channel.
Step 2: Select integration
Choose the type of integration you want to use for this channel:- Project: Connect the channel to an automated project in Brain Studio
- Operators: Connect the channel directly to a human operator in Connect
Step 3: Select a project or operator
Depending on the type of integration selected:- If you chose Project: Select the flow created in Brain Studio that you want to connect to the channel.
- If you chose Operator: Select the support team (Connect) that will handle conversations on this channel.
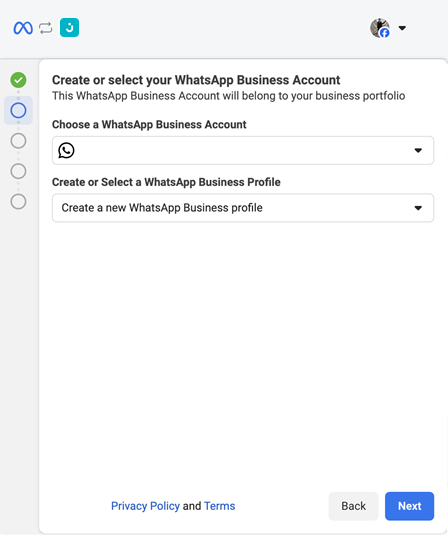
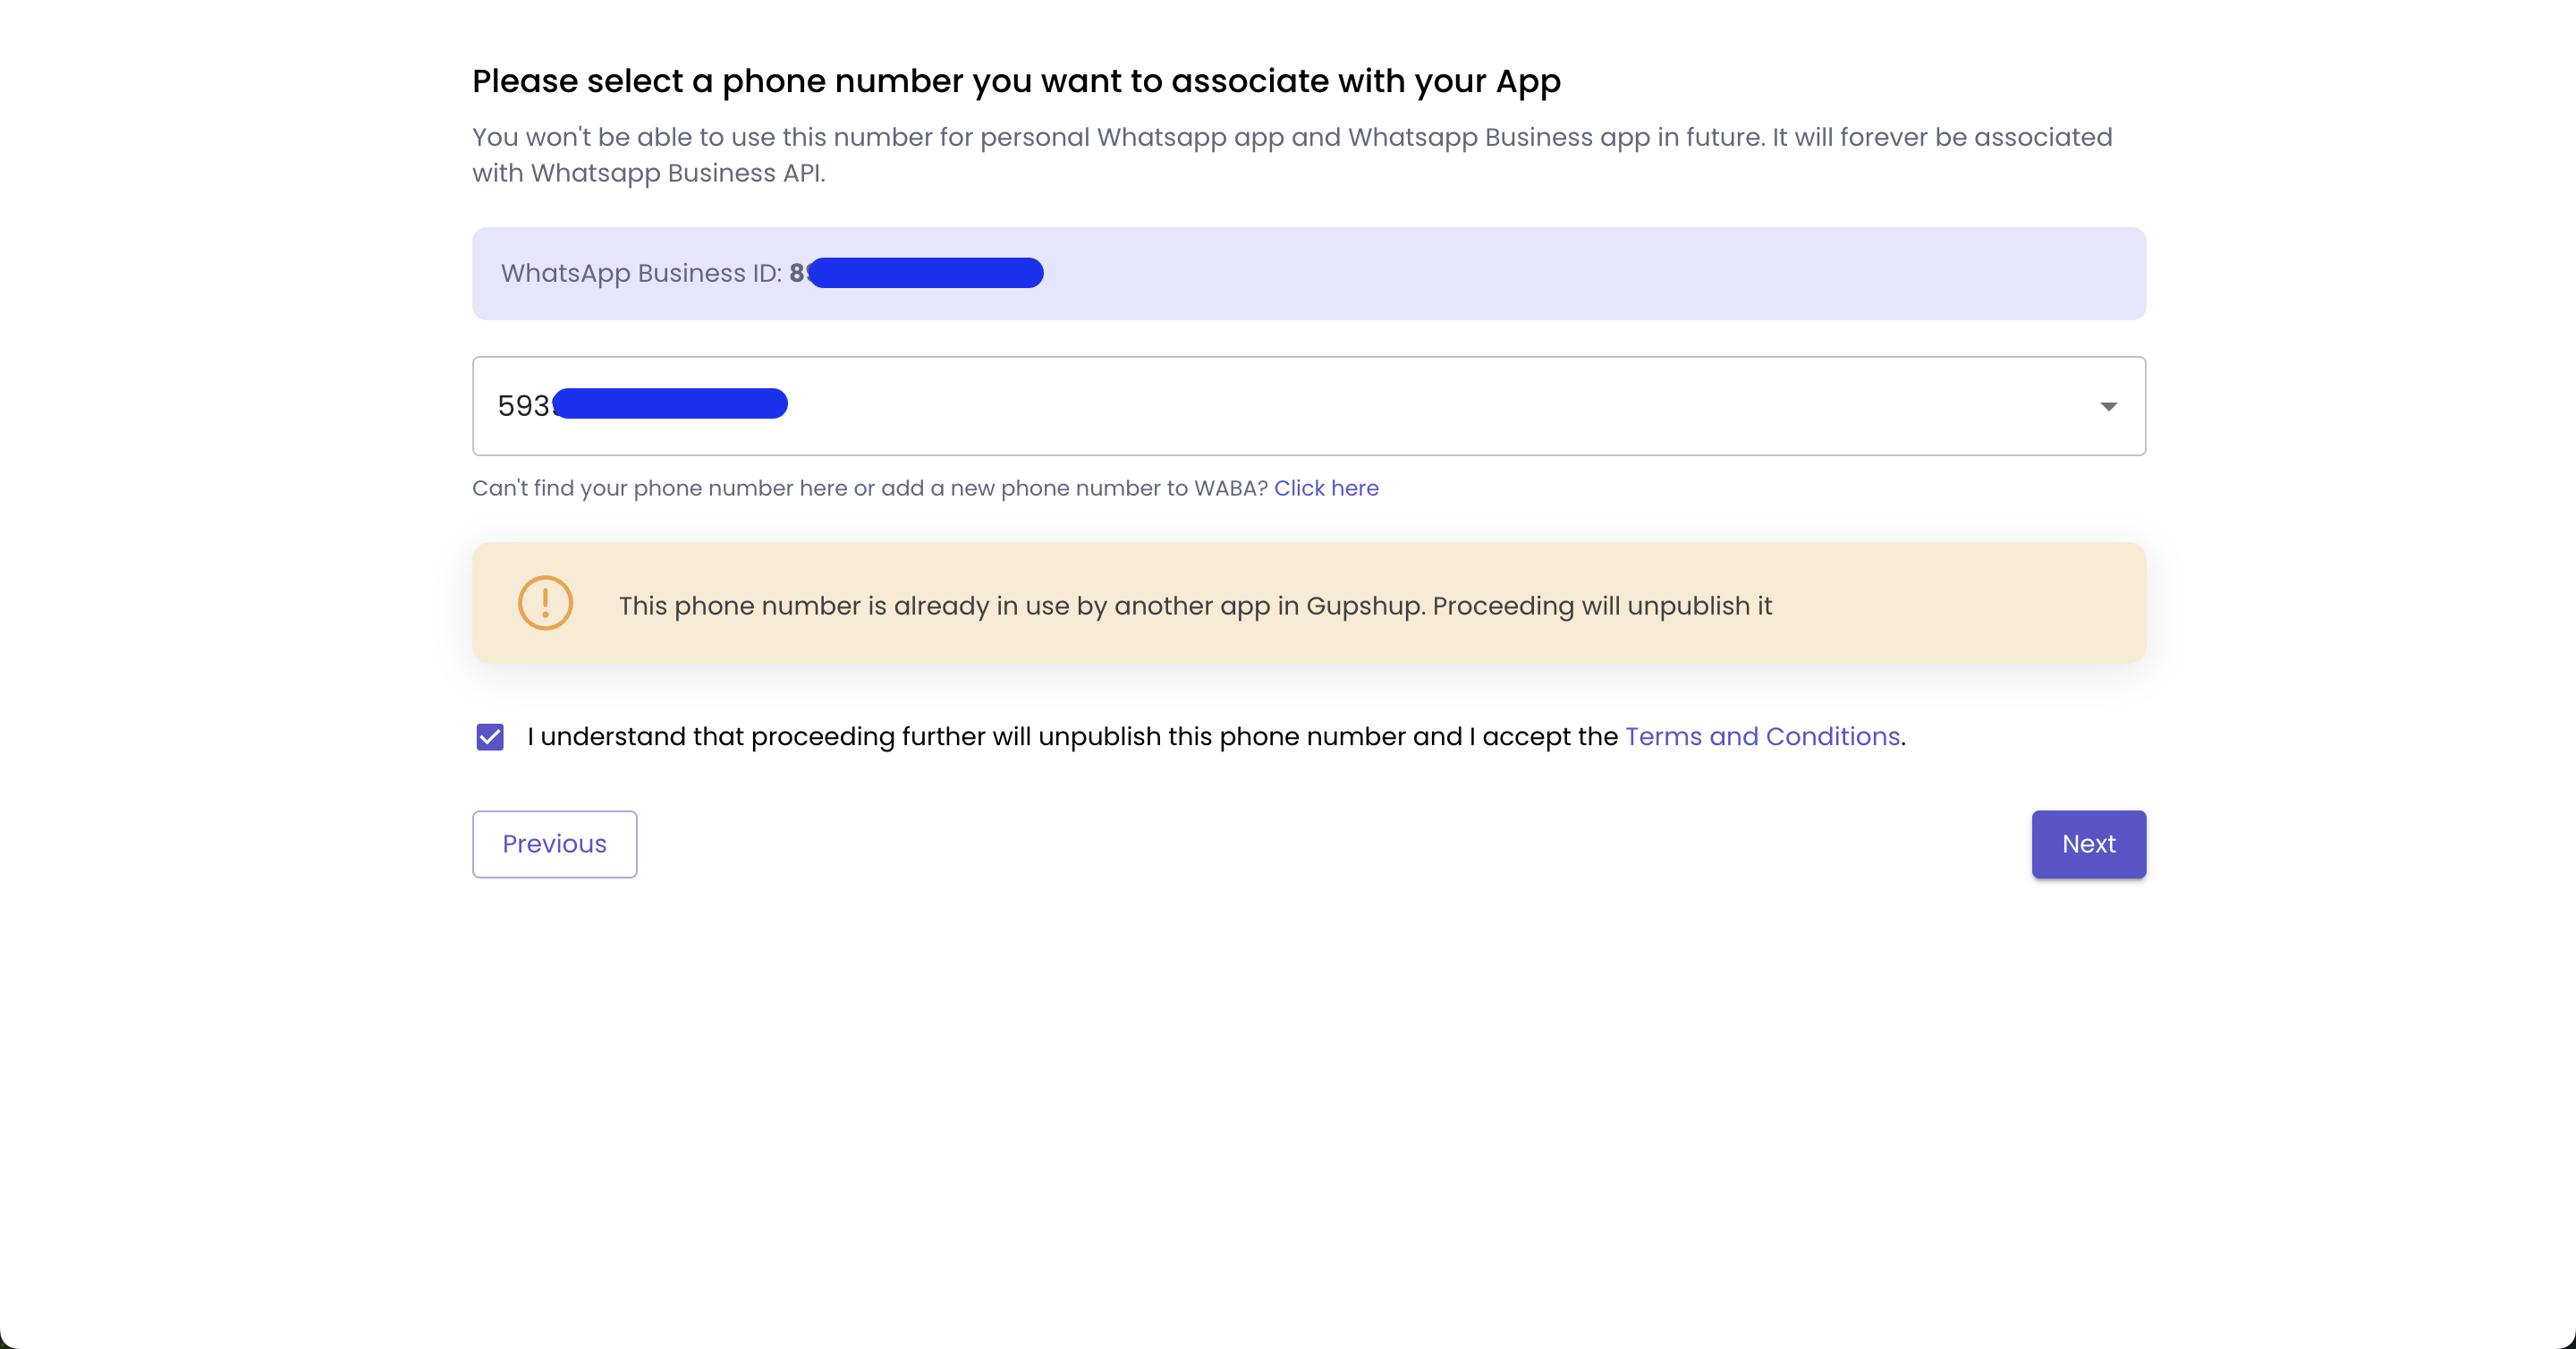
Step 4: Configure Facebook Business Manager and WhatsApp Business
For the following configurations you will need to have at hand, in another window: Your Facebook Business Manager account and the WhatsApp number you will use for the configuration.We recommend using a new phone number that is not associated with other WhatsApp applications.
Verify your WhatsApp Business account
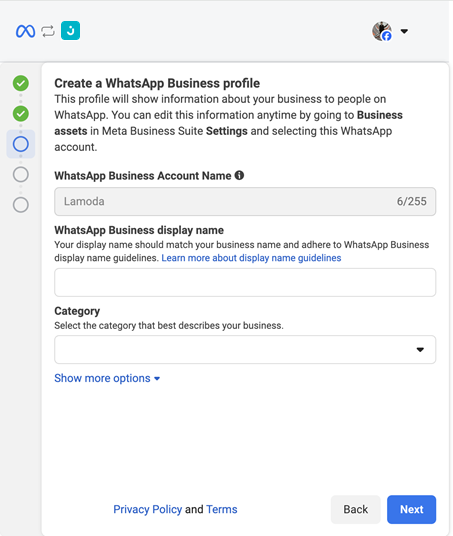
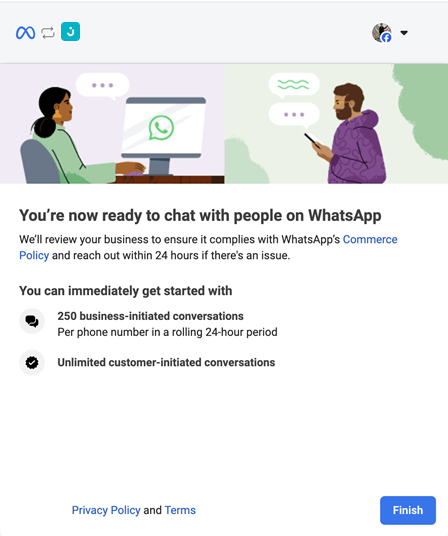
Verifying your WhatsApp Business account not only improves customer trust, but also allows you to exceed certain limitations. If you do not verify your account, your number may be restricted to only 250 conversations per month instead of 1,000 or more. This verification lets you confirm that you are a legitimate business and improves interaction with your customers. For more information, see the Meta guidelines. Automatic validations The system will automatically validate:- Name length: Verifies that the channel name is between 4 and 50 characters.
- Required fields: Make sure all required fields are complete before continuing.
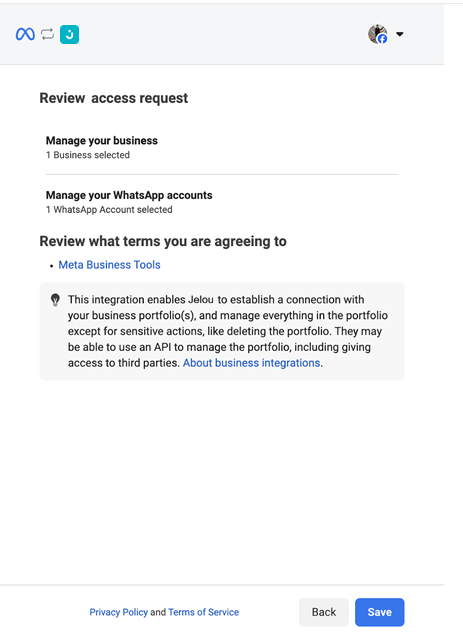
- Connect your WhatsApp Business API account.
- Verify your phone number.
- Configure WhatsApp-approved message templates.
- Configure webhooks to receive messages in real time.

Select the Facebook Business account that will own the WhatsApp number. If you are an agency connecting on behalf of a client, make sure to use the client’s Business account, not the agency’s. Create or Select your WhatsApp Business Account Next, you will have the option to create a new WhatsApp Business Account (WABA) or select an existing one. If there is no WABA associated with the selected business, one will be created automatically by default.

Best practices
- Respond quickly: WhatsApp penalizes slow response times
- Use appropriate templates: Select the correct template for each situation
- Respect the 24-hour window: After 24 hours without a customer response, you will need to use an approved template
- Maintain quality: WhatsApp monitors the quality of your messages and can limit your account if it receives too many complaints
WhatsApp charges per message sent according to its pricing model. See the billing documentation for more details on costs.
Next steps
Once configuration is complete you will be able to:- Configure your message templates
- Test sending and receiving messages
- Configure automatic responses
- Customize the project or agent behavior
- Start receiving and managing conversations